THEHOOKBLOG
Coffee Fuelled Thoughts, Stories and Ideas
Recipe: Aeropress Cappuccino

We've all been there: you crave a creamy cappuccino, or a strong espresso, but you don't own a coffee machine. Fret not; we have the solution for you!
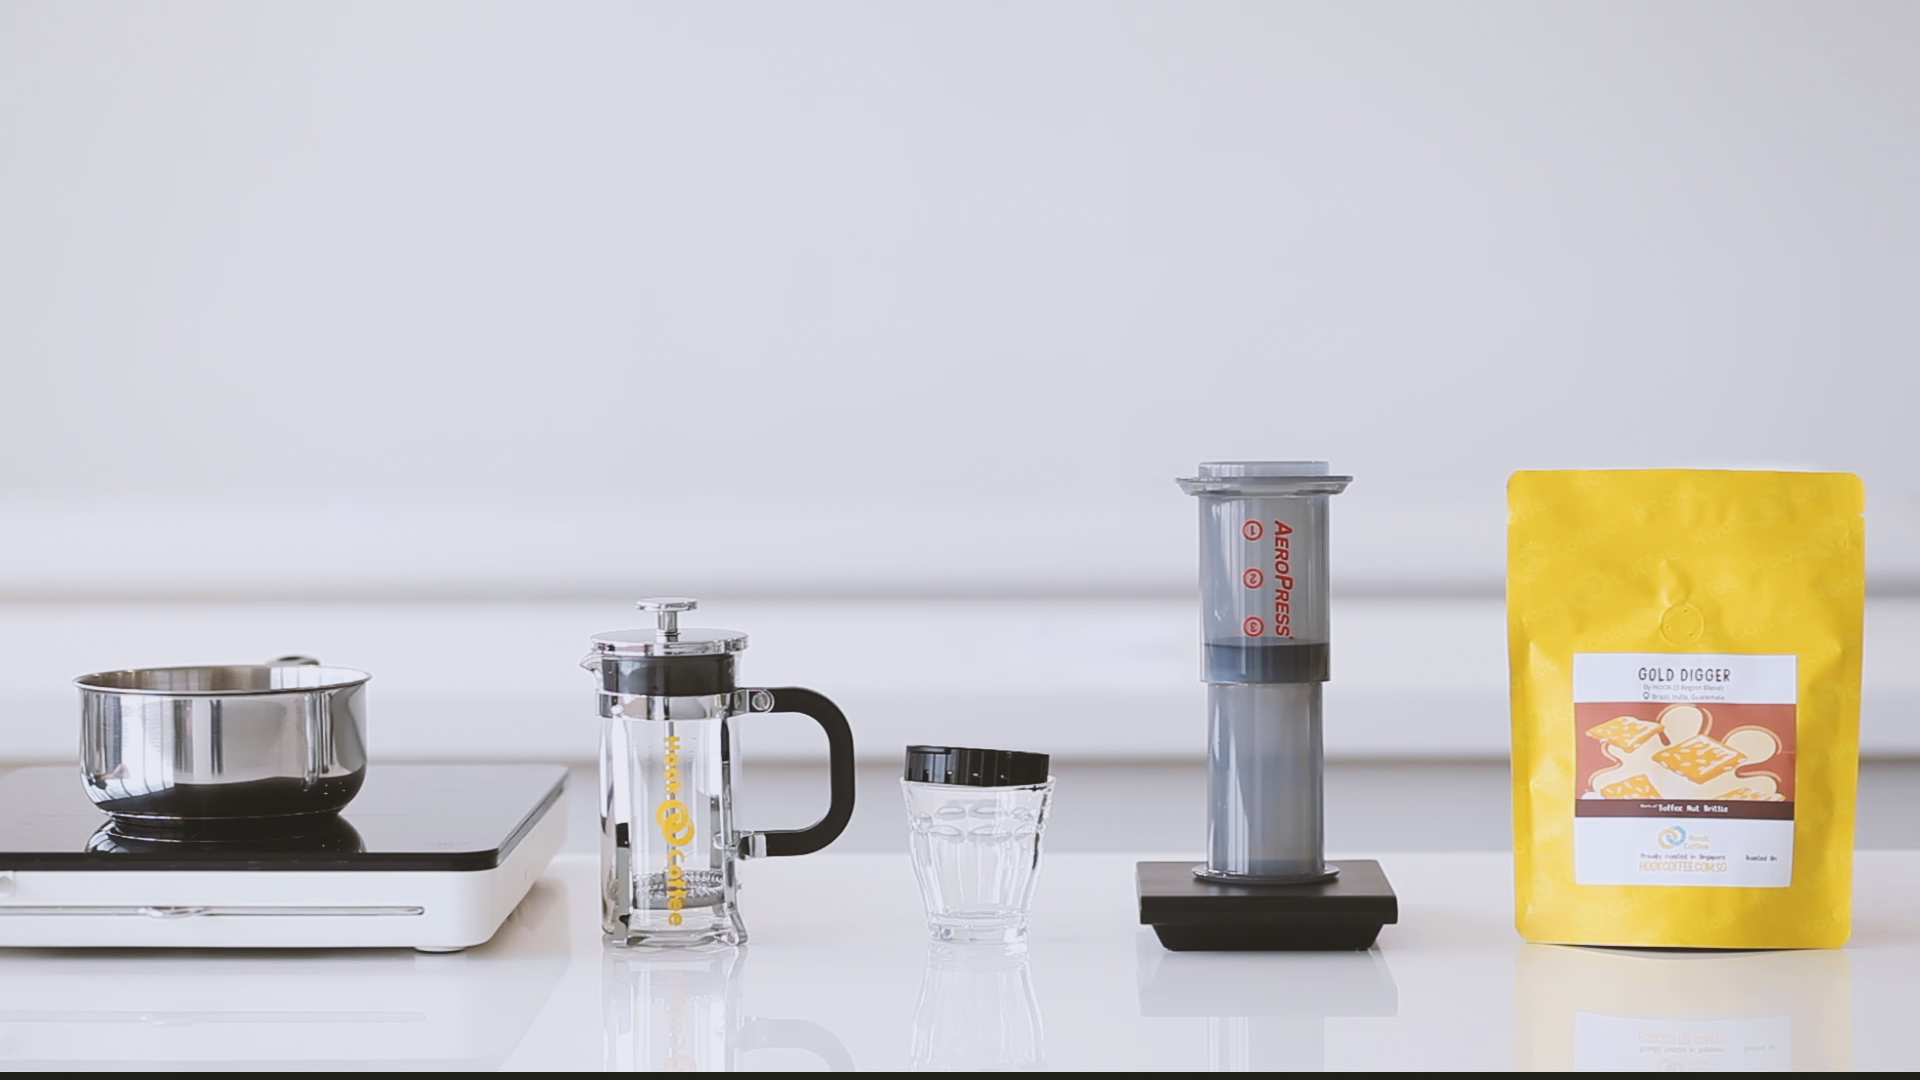
Would you believe that an Aeropress and a French Press are the main pieces of coffee equipment that you’ll need for a homemade espresso-style coffee or a cappuccino? We were pleasantly surprised as well, so we had to share this method with you all! For the complete list of equipment used, check the end of this post.
Our recipe uses 18g of coffee, ground to a particle size for Moka Pot brews. We recommend using our espresso blends, or a single origin of lower acidity. This will result in a well-extracted coffee concentrate that tastes bold and chocolatey, with a rich body.
Part 1: Espresso-style Coffee
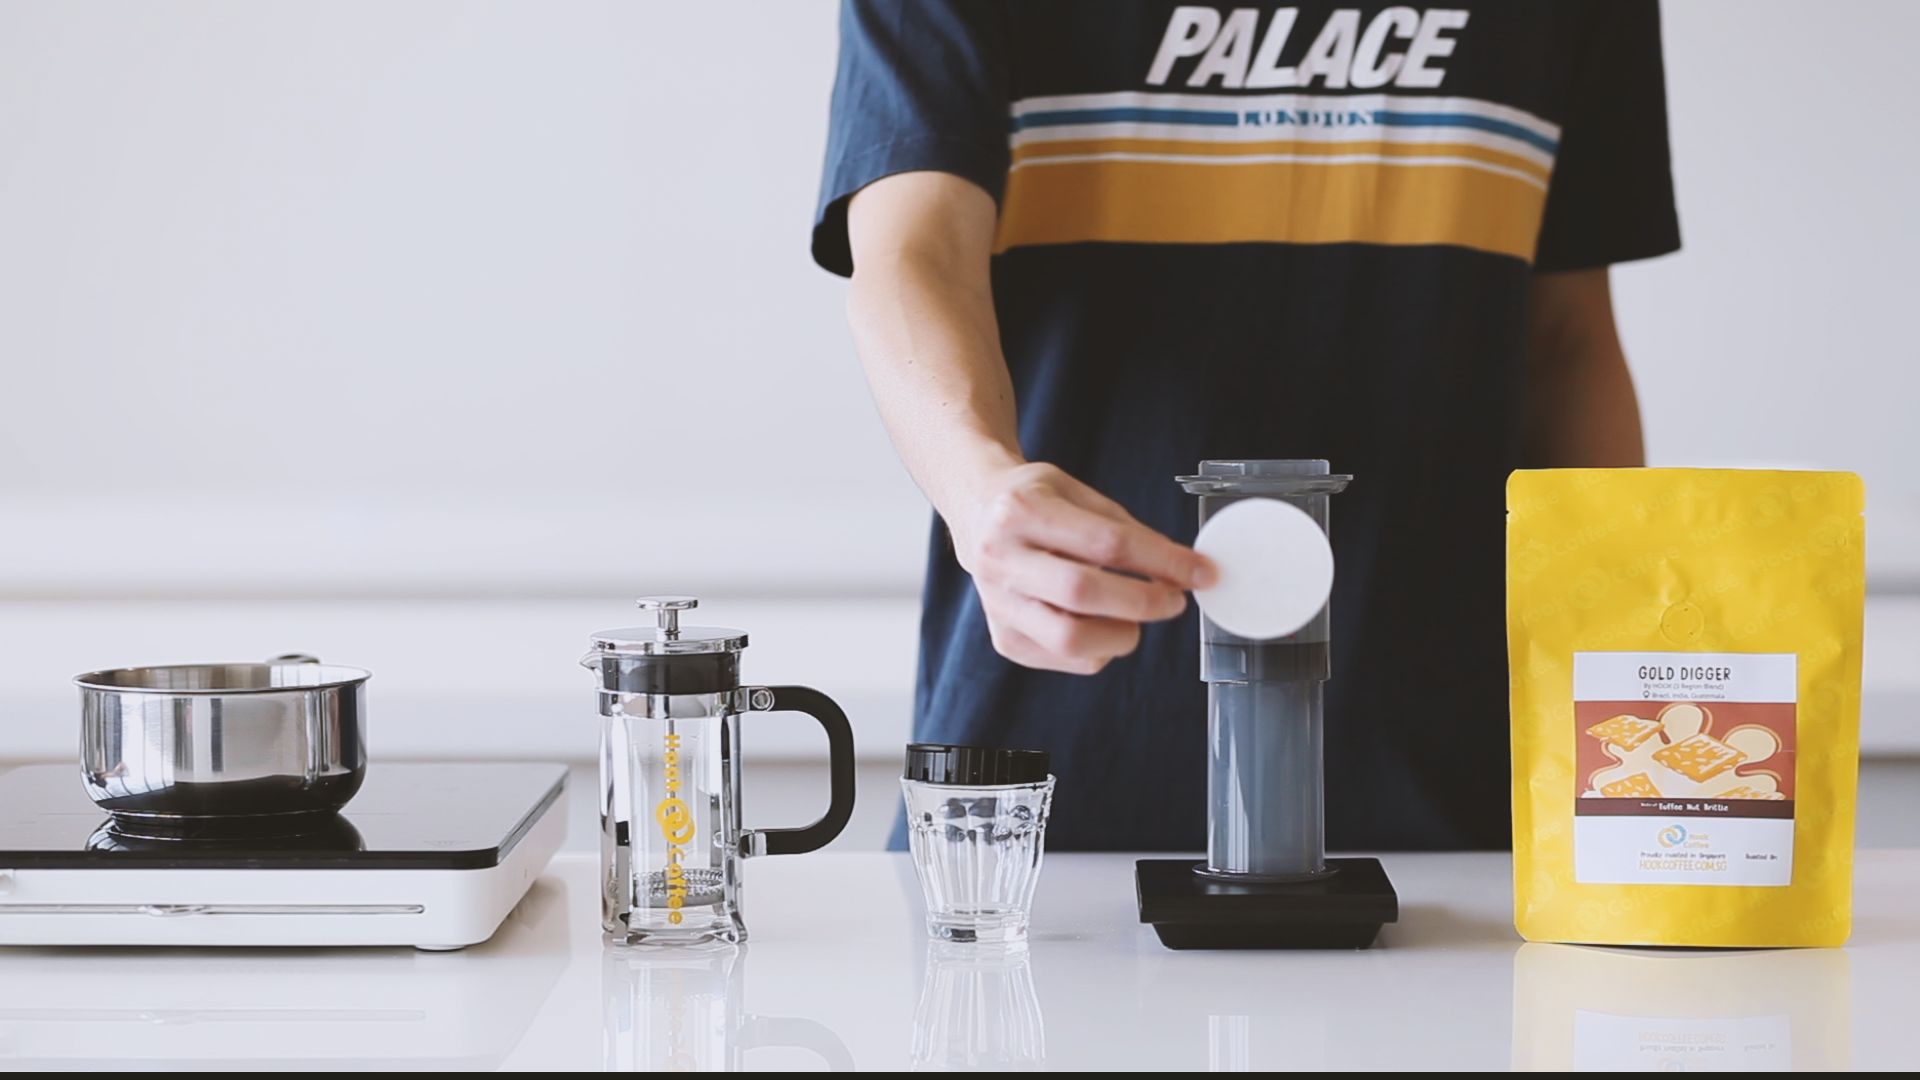
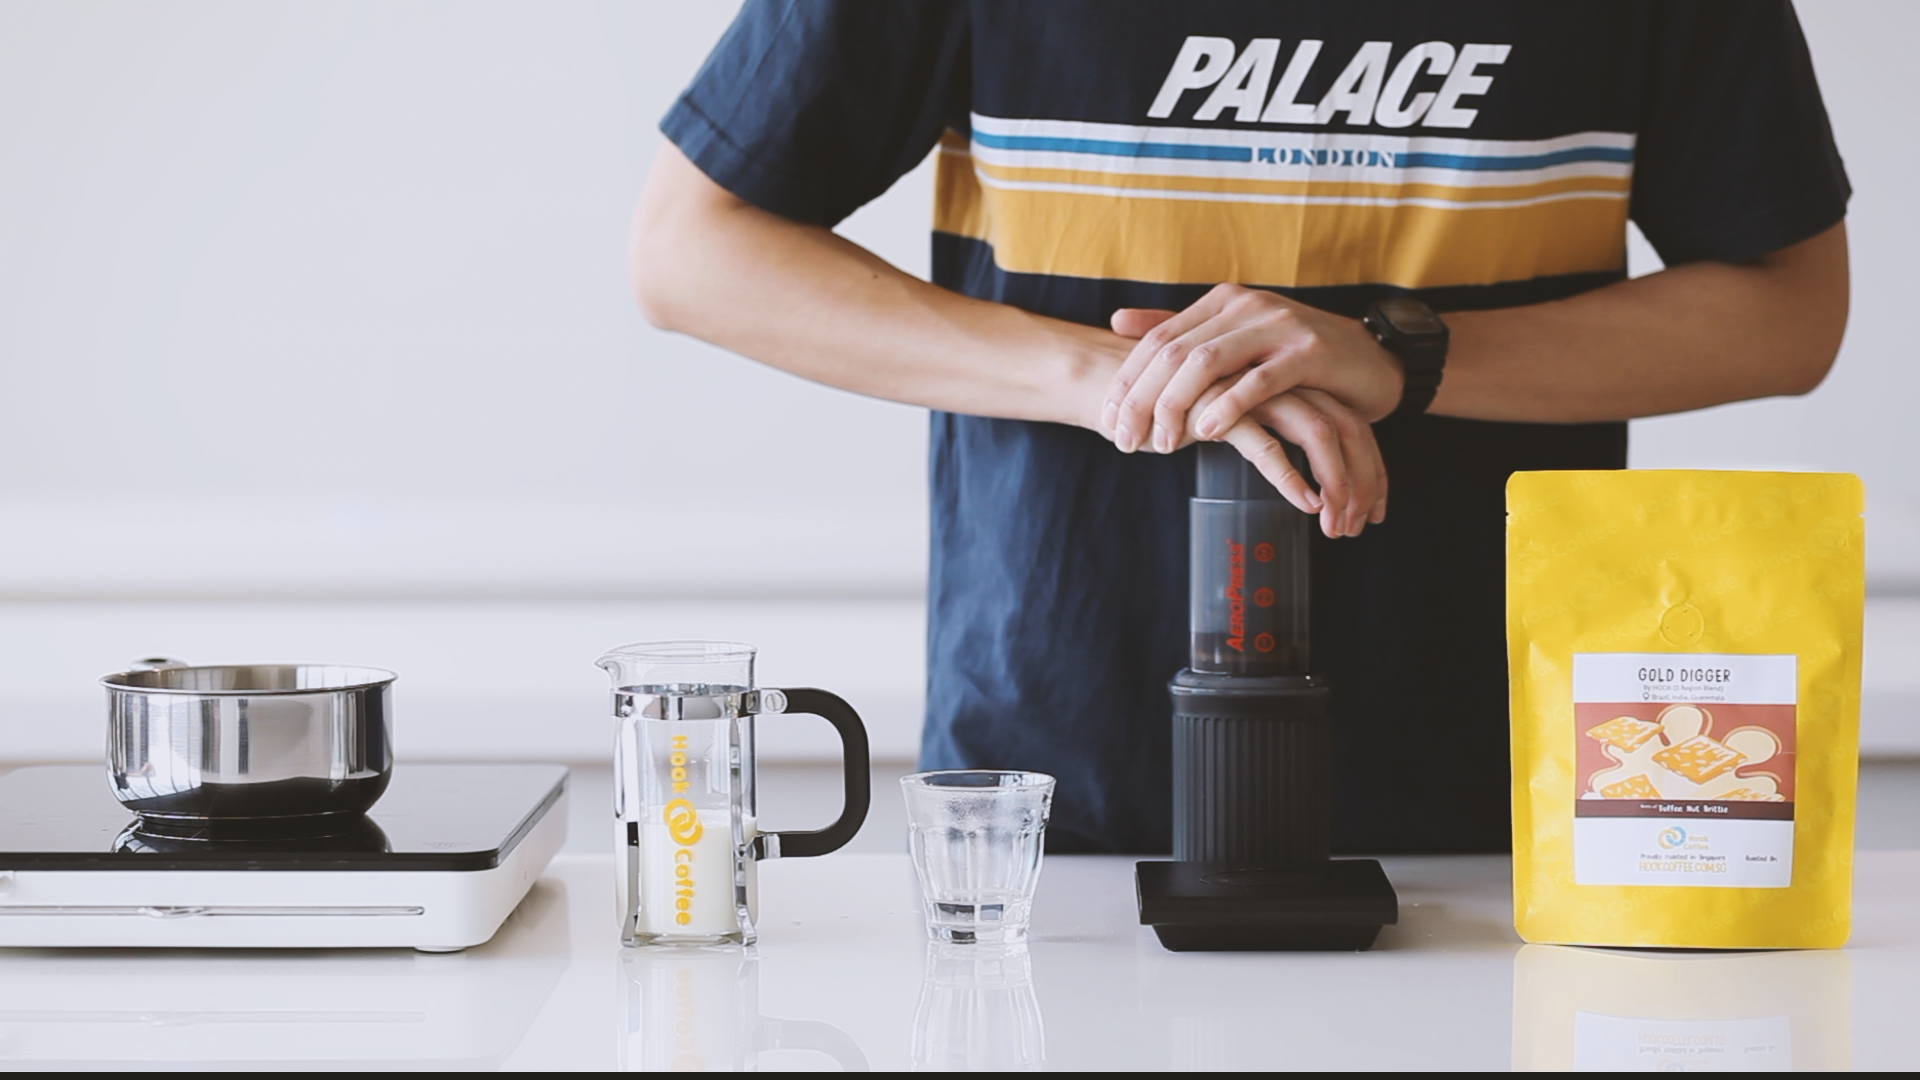
1. Place the Aeropress filter paper in the filter cap, and rinse paper with water once it comes right off the boil. This removes the smell and taste of paper.
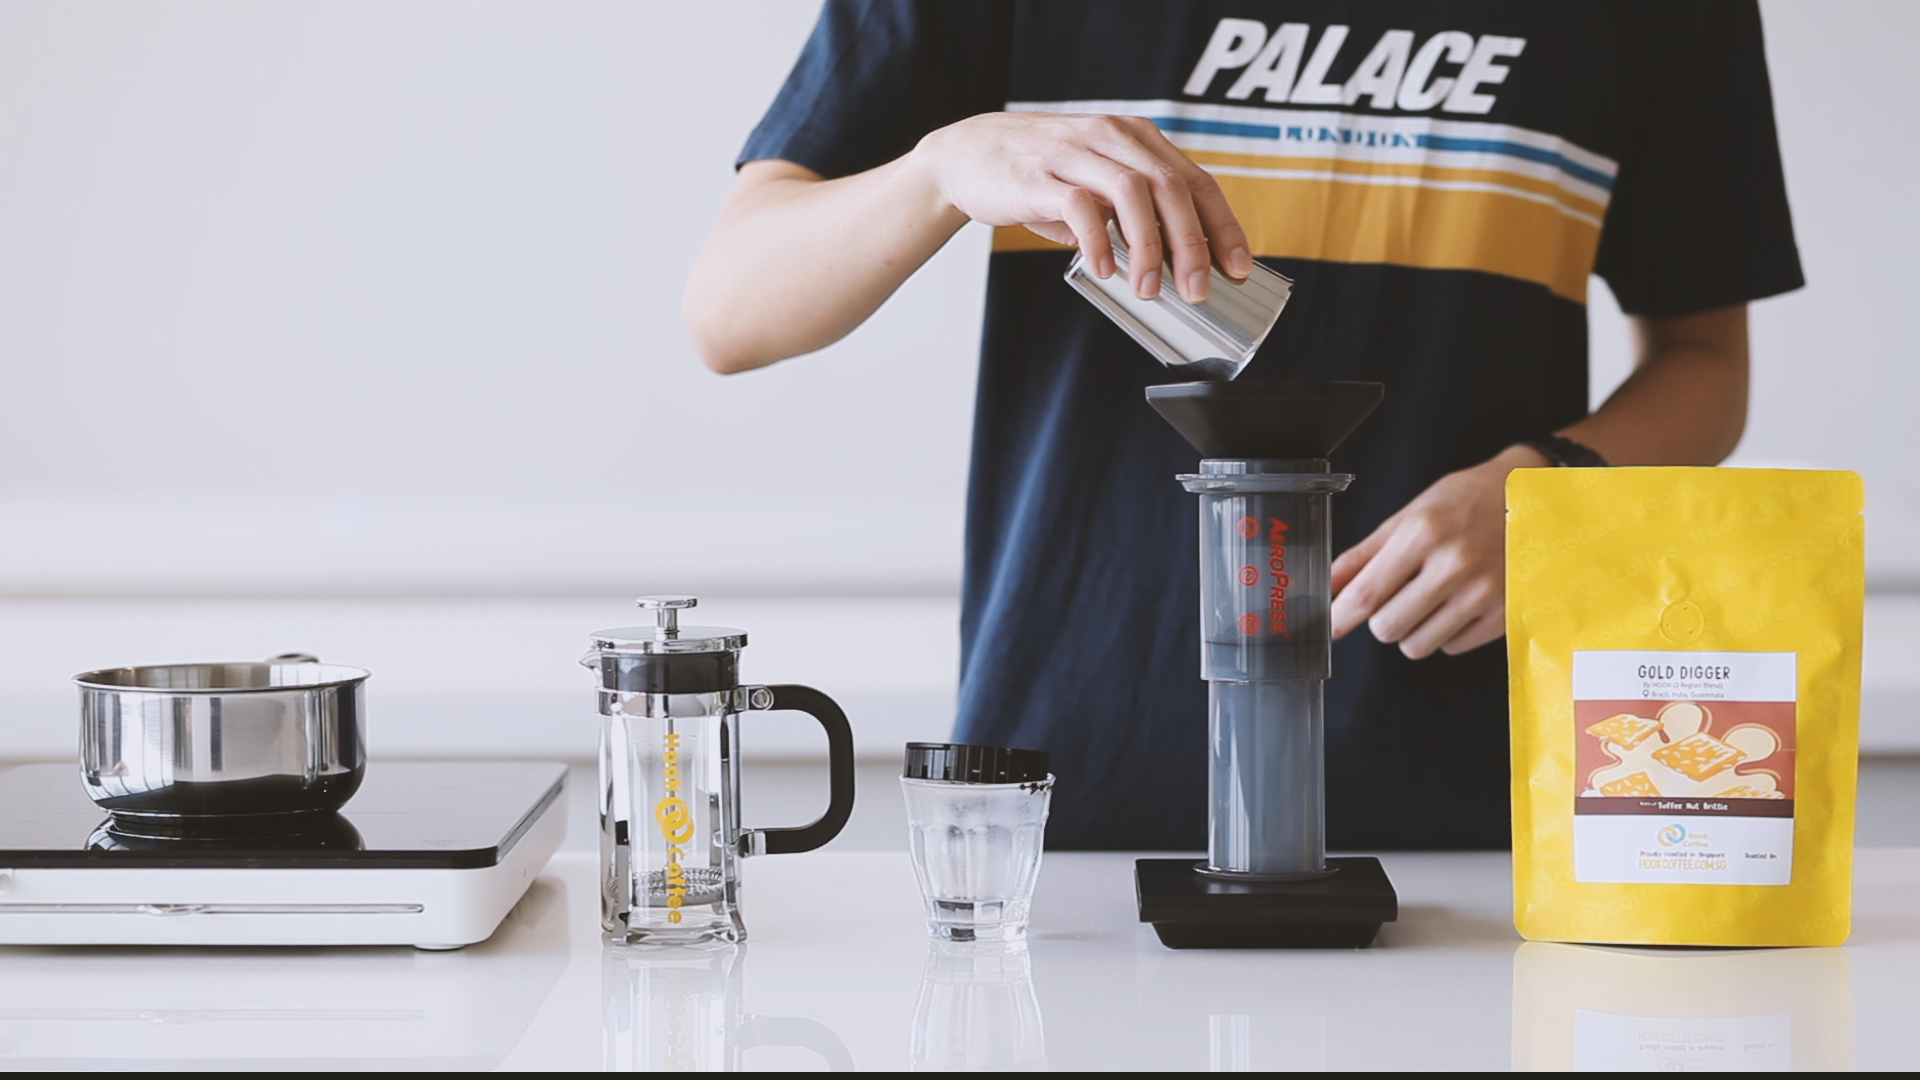
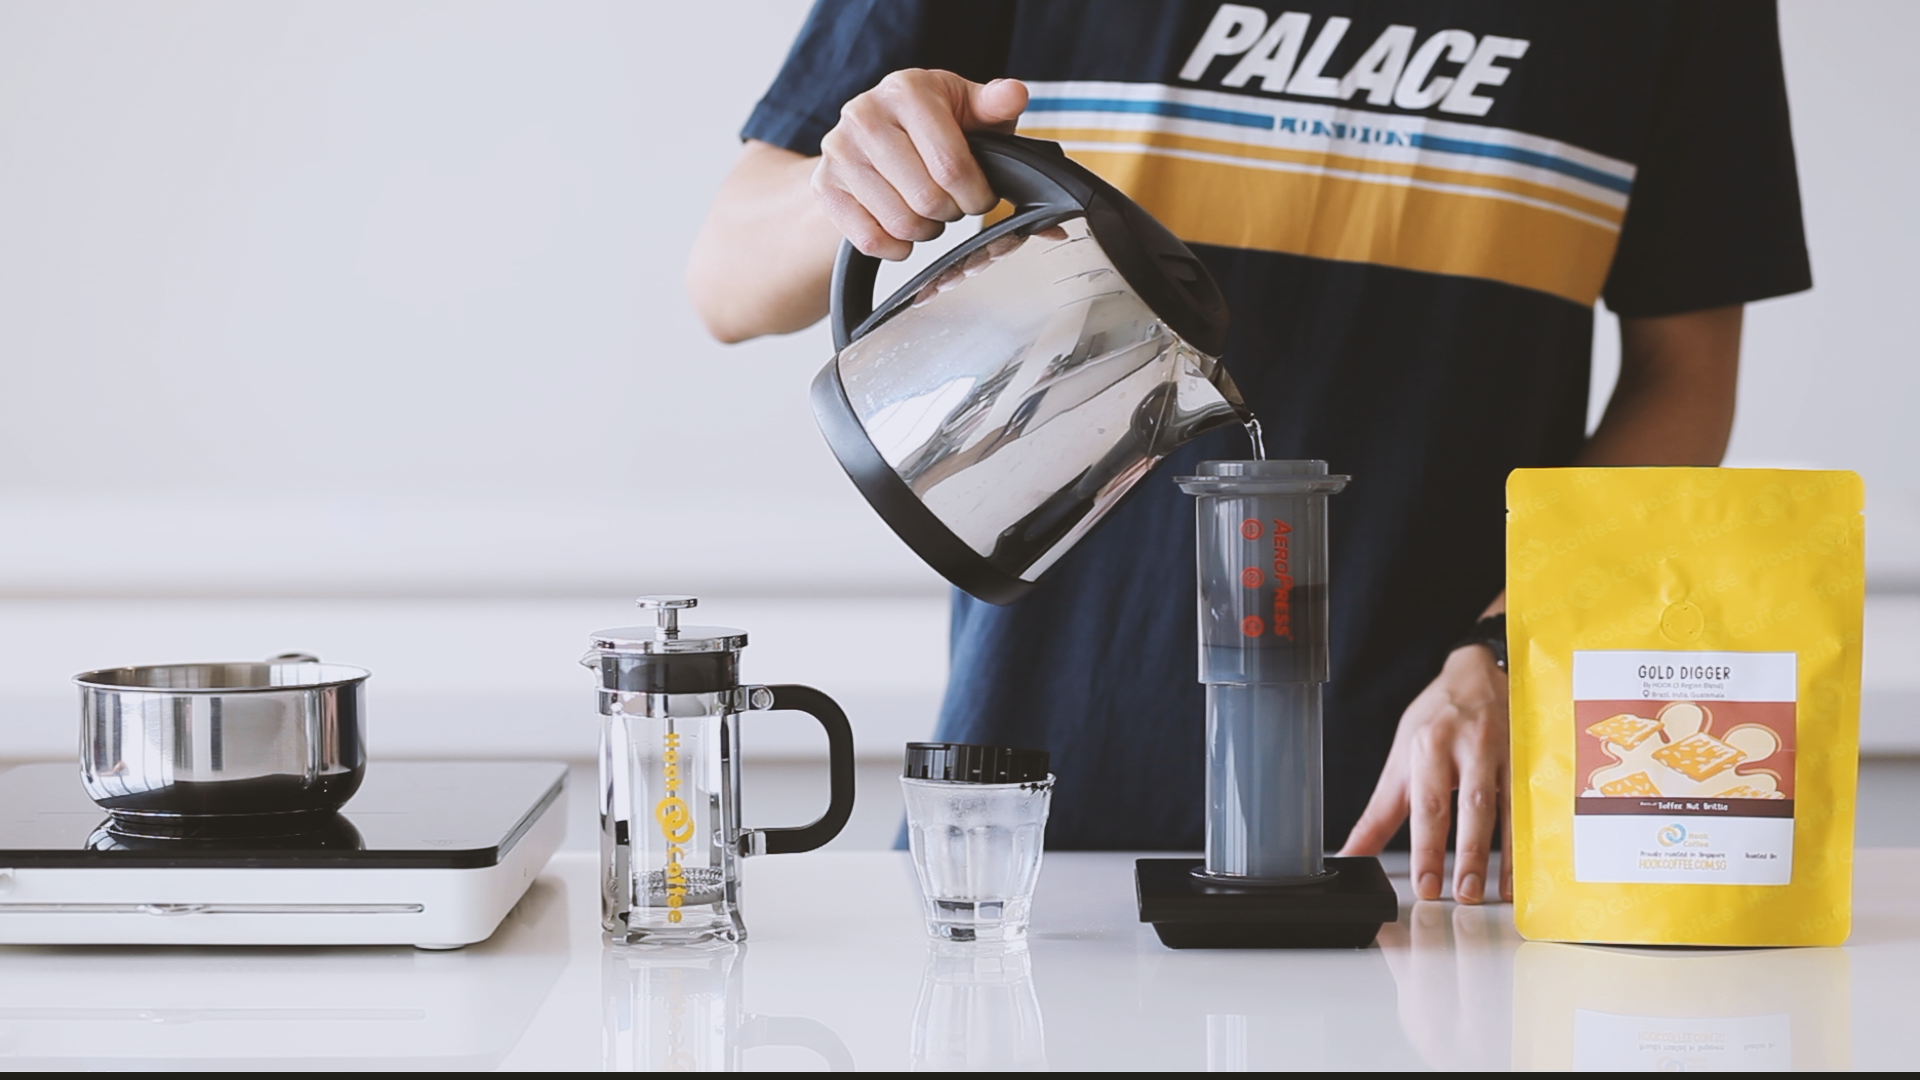
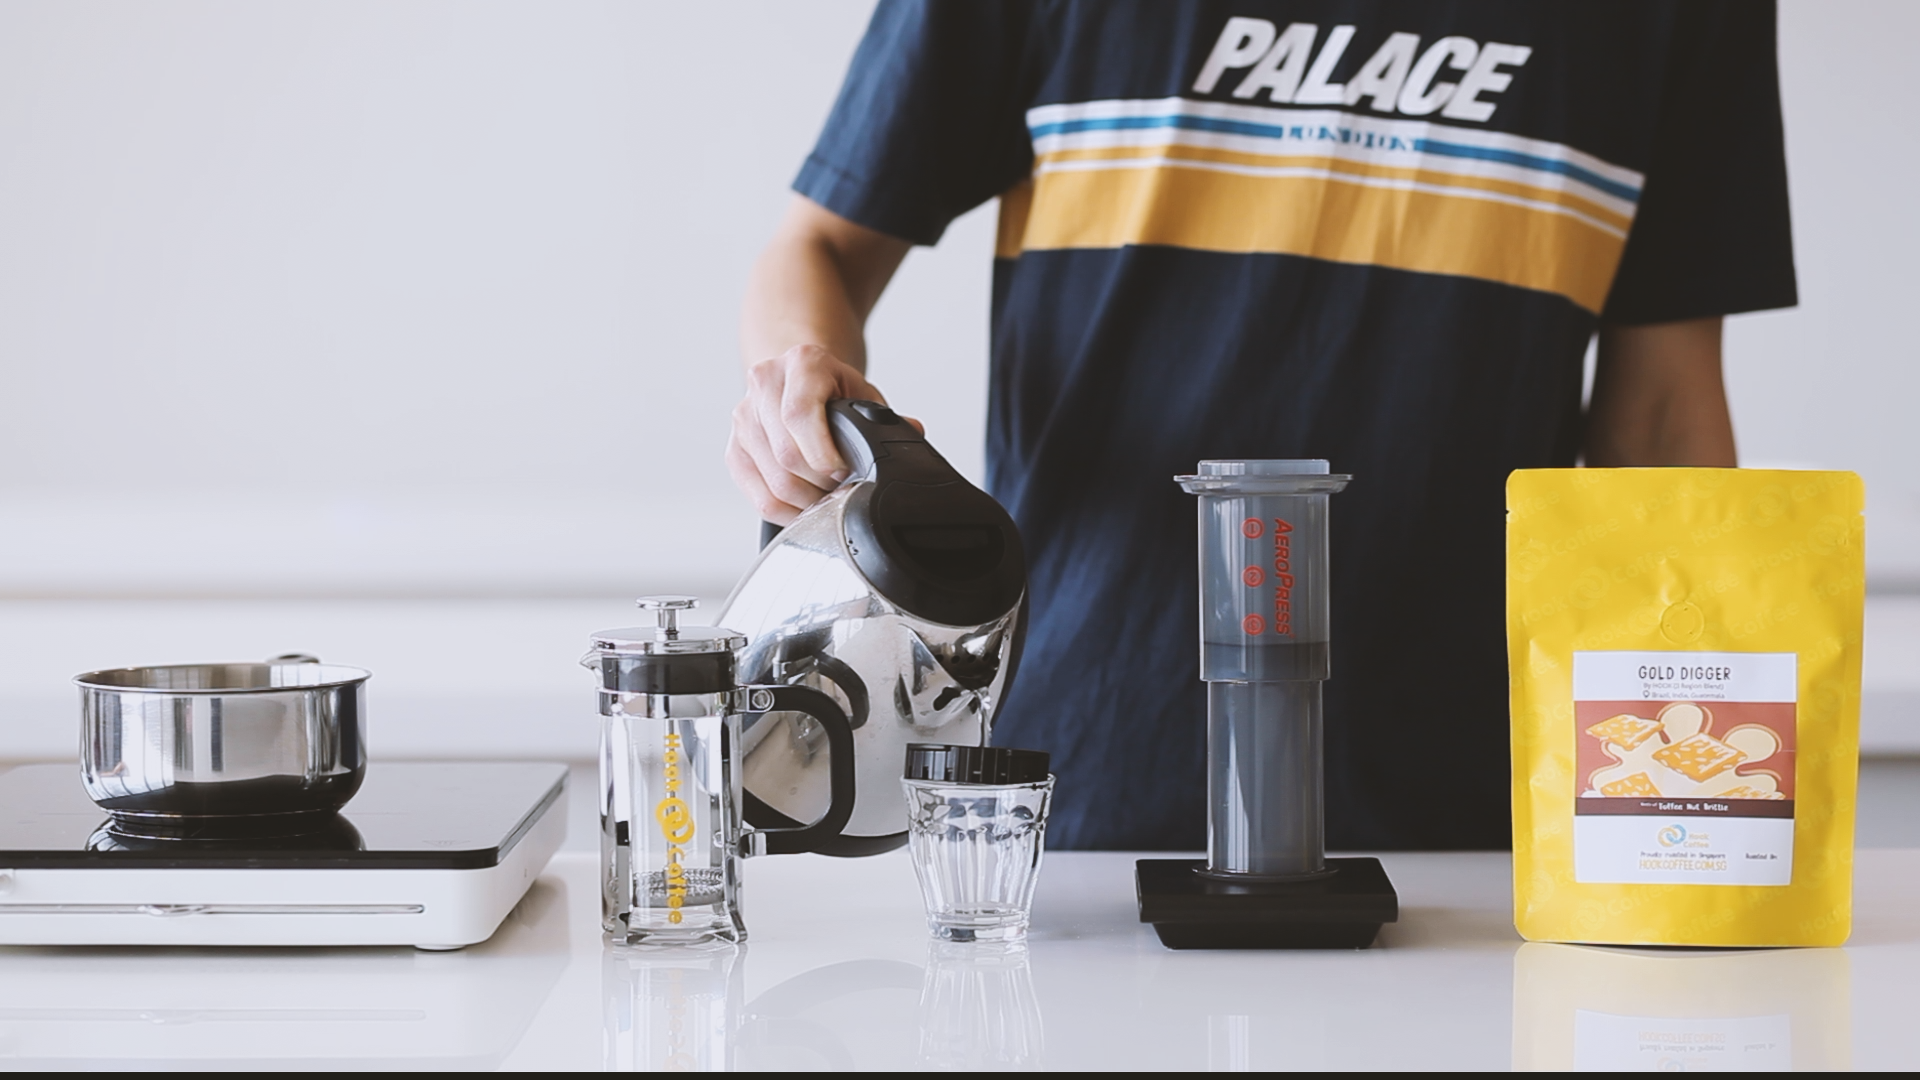
2. Set up the Aeropress by inserting the plunger into the brew chamber. We’ll be brewing with it in the inverted orientation. Prepare your scale, hot water and stirrer (p.s. – this comes with every Aeropress Go set). Place the Aeropress on the scale, dose your ground coffee, start the timer and begin adding 65g of water within 15 seconds.
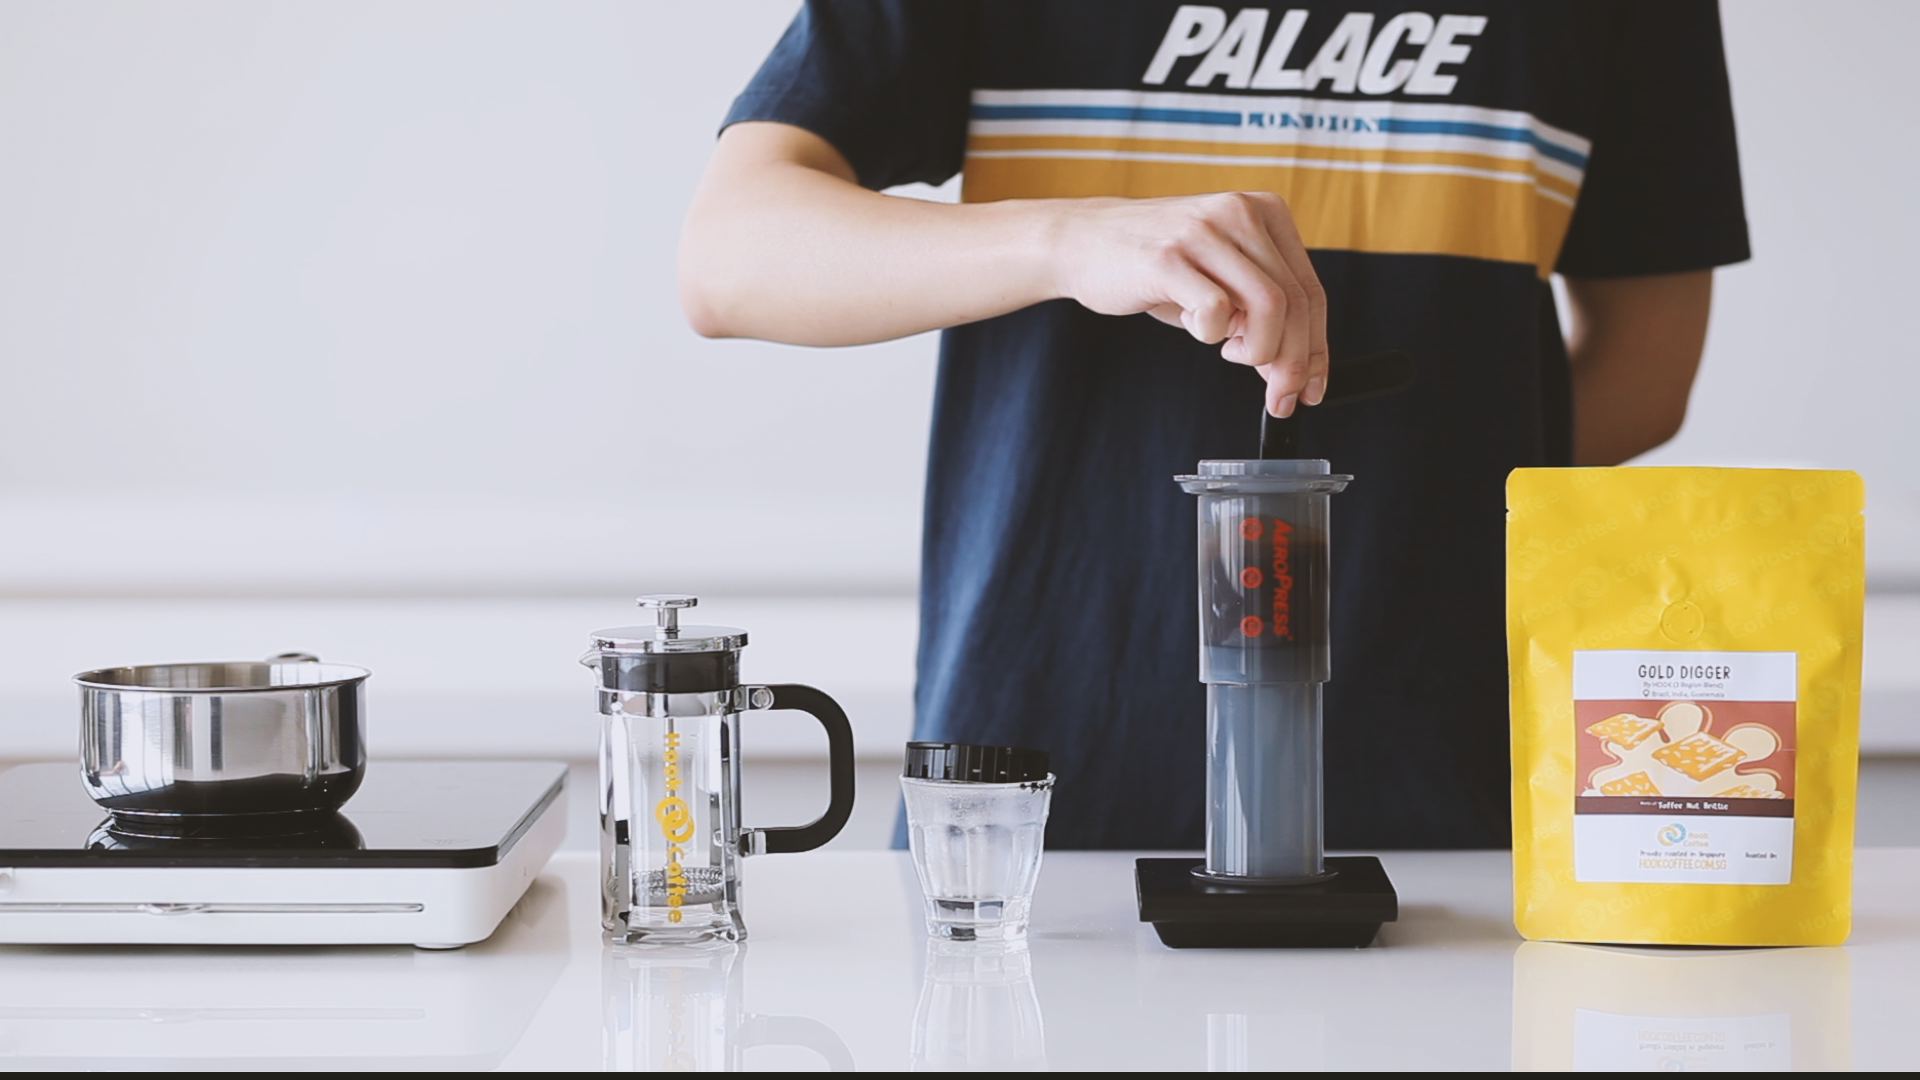
3. At the 15-second mark, grab your stirrer and stir the slurry continuously till the 1-minute mark.
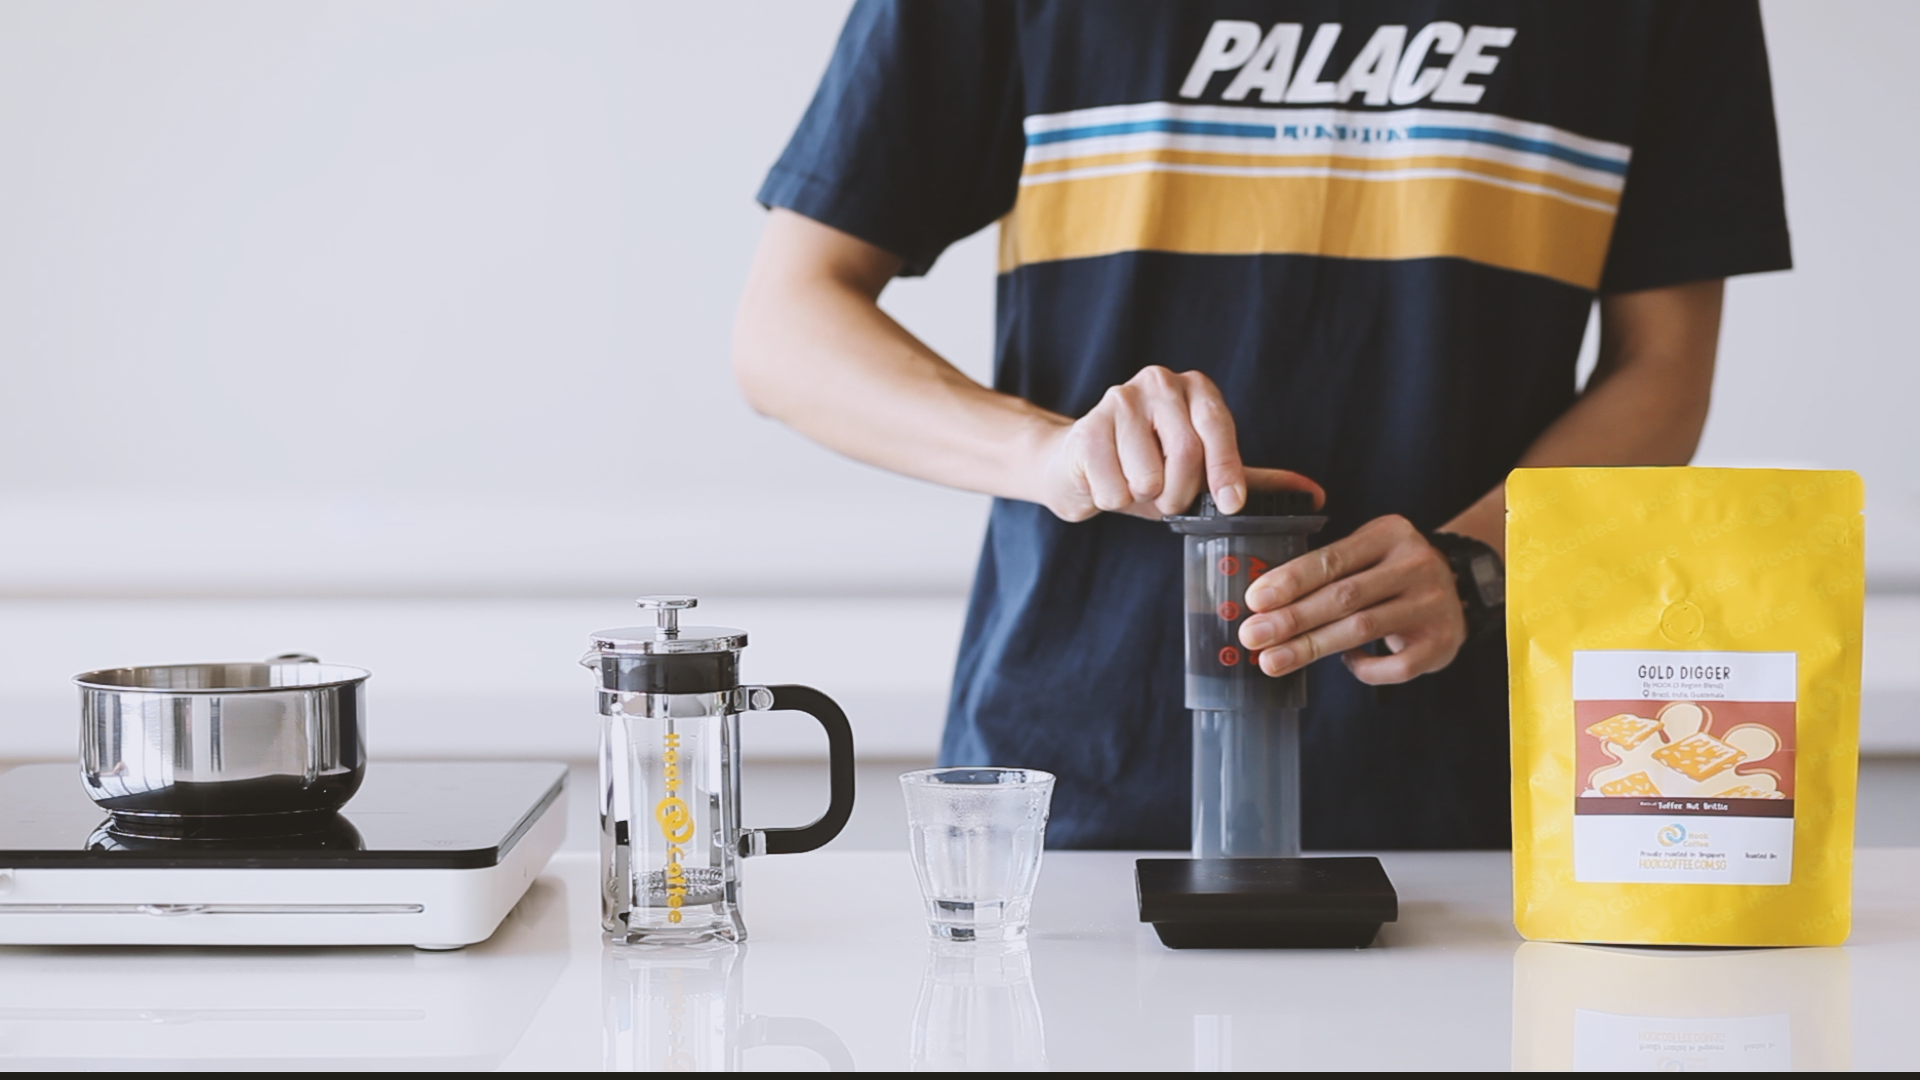

4. At the 1-minute mark, grab the Aeropress filter cap (with the paper) and screw it on the brew chamber. Remove the Aeropress from your scale, and gently press down on the Aeropress, just enough to remove excess air and just before any coffee comes through the filter. Let the brew steep till the 2 minute 45 second mark.
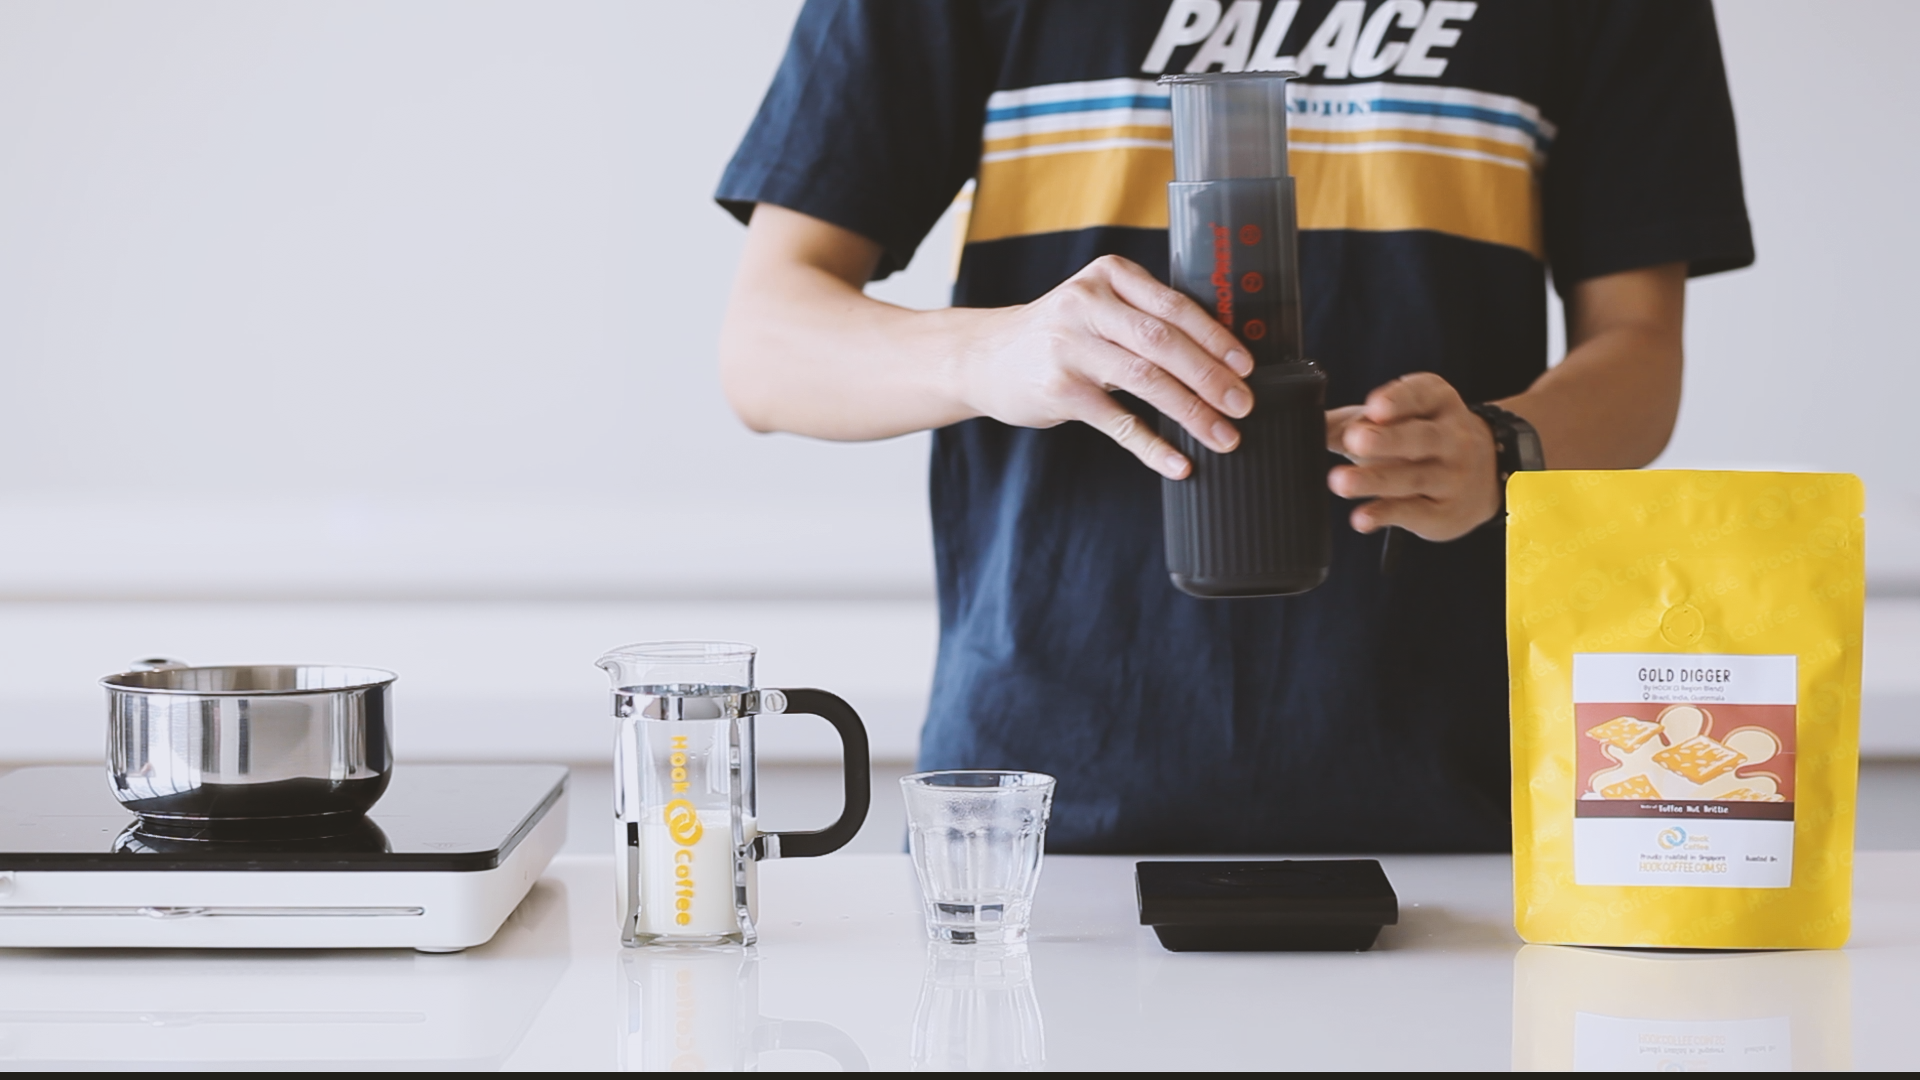
5. At the 2 minute 45 second mark, grab the Aeropress Go Cup, place it on top of the Aeropress, and gently flip it over. At this point, make sure your brewing surface is flat and steady, because you’ll be pressing down for real!
6. Slowly and gently press down on the plunger to extract your coffee. This should take no longer than 3 minutes and 30 seconds. You’ll yield 40 to 43g of espresso-style coffee, ready to drink as is, or to be used as the foundation for a cappuccino! If you’re going to make a cappuccino, we recommend transferring the coffee to a 7 oz (~207ml) cup.
Part 2: Milk for Cappuccino
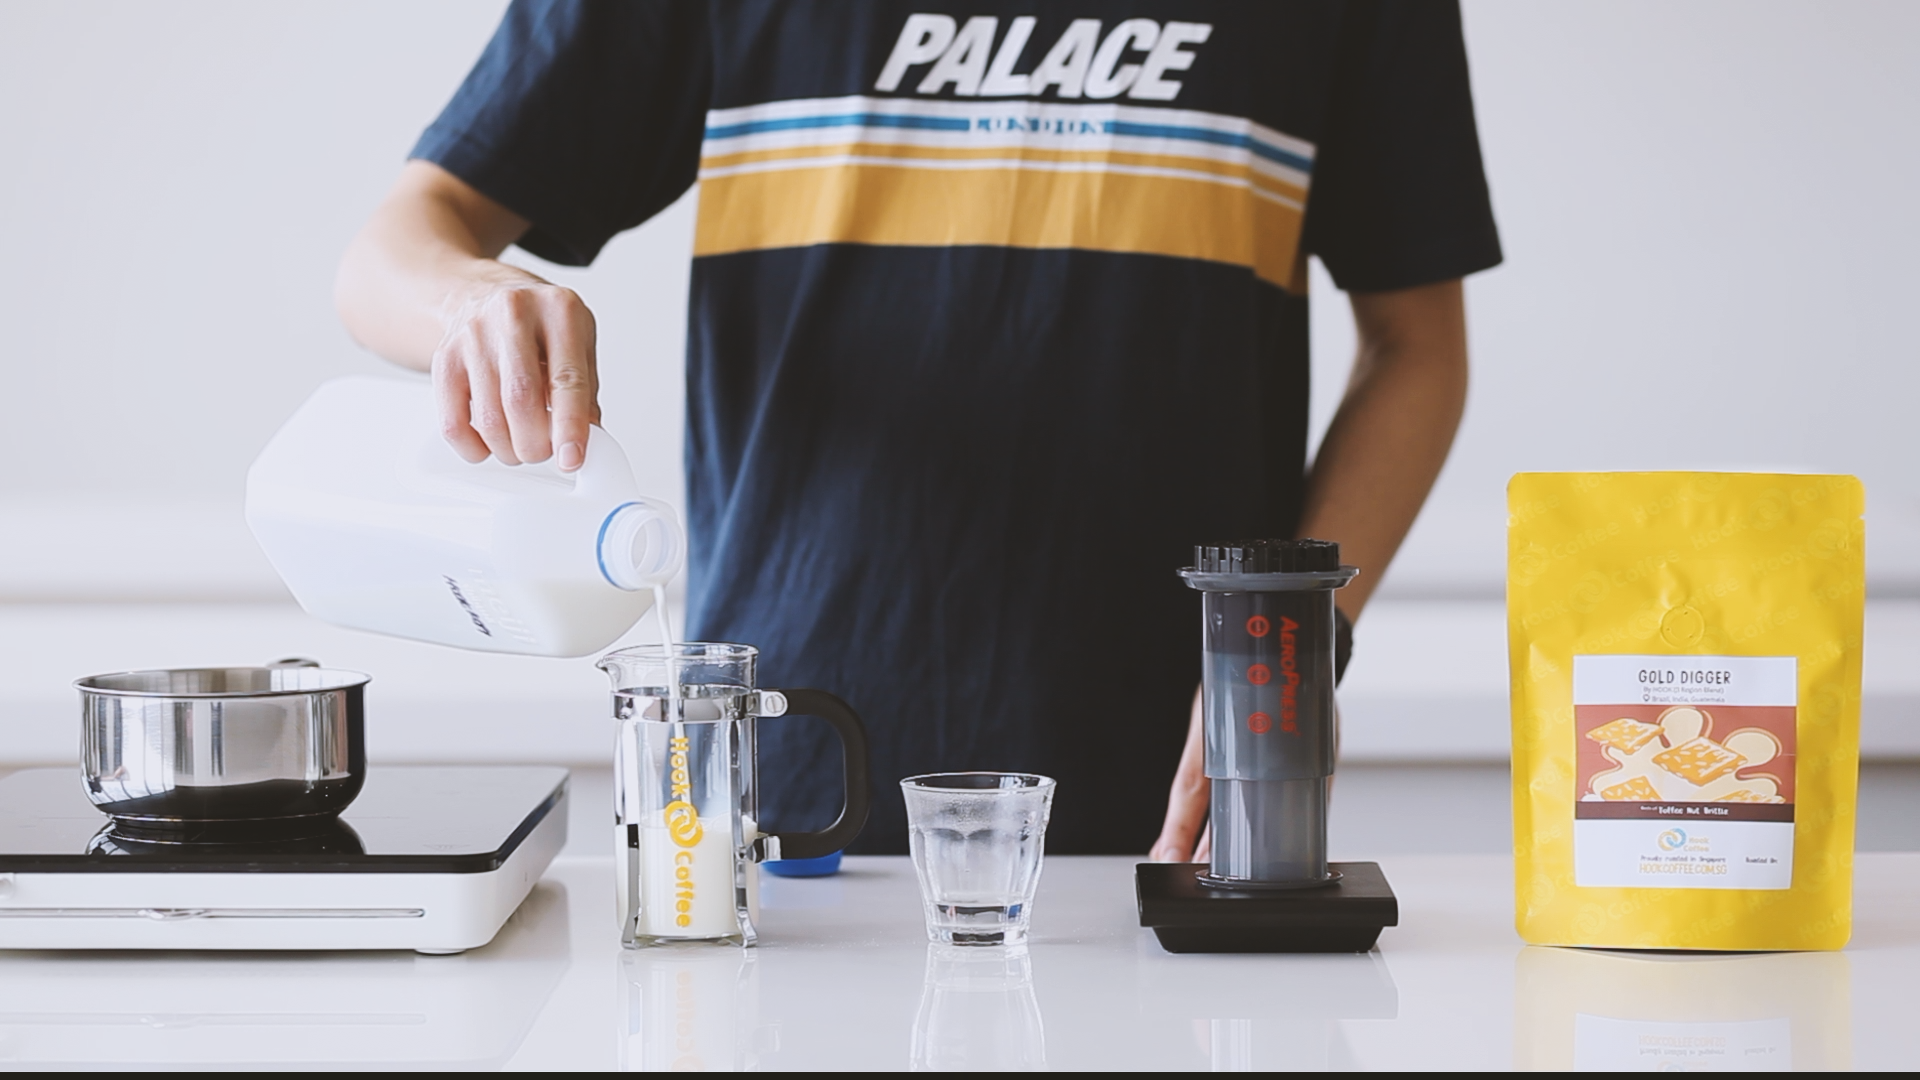
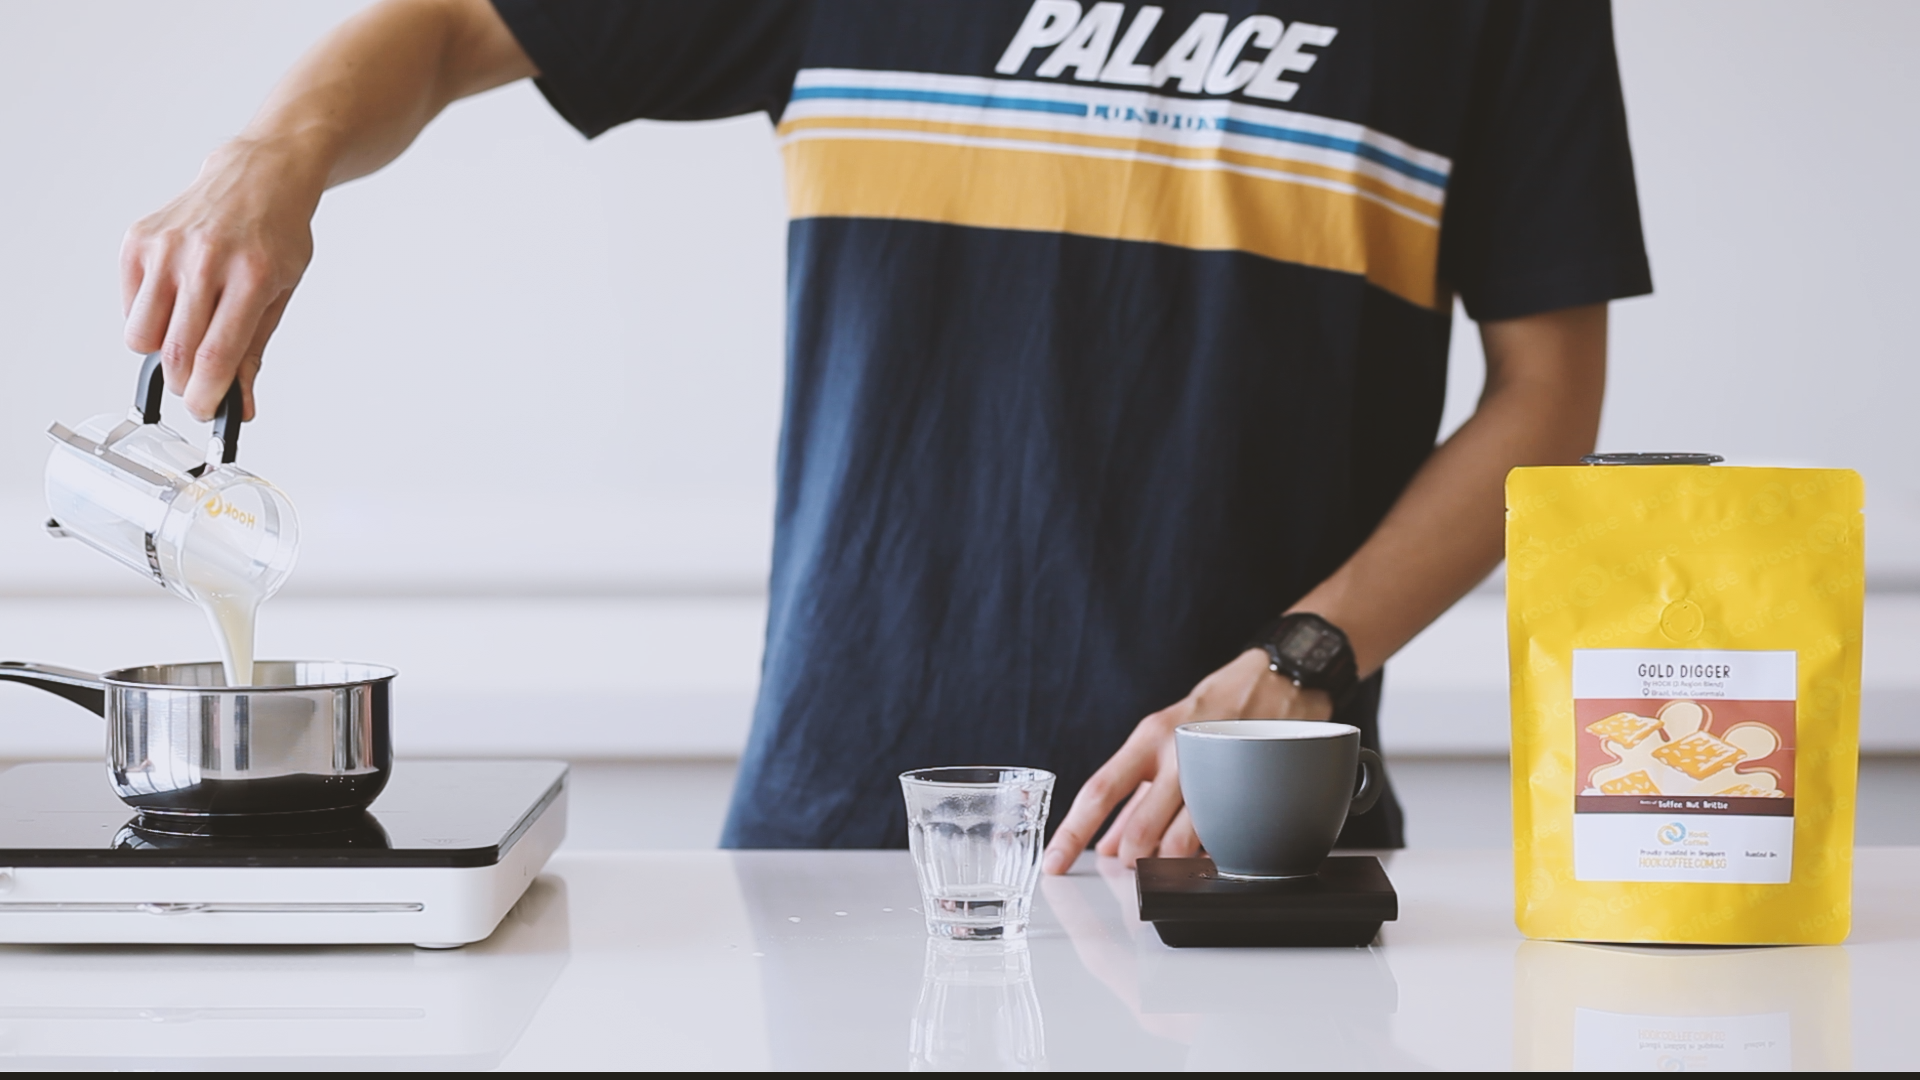
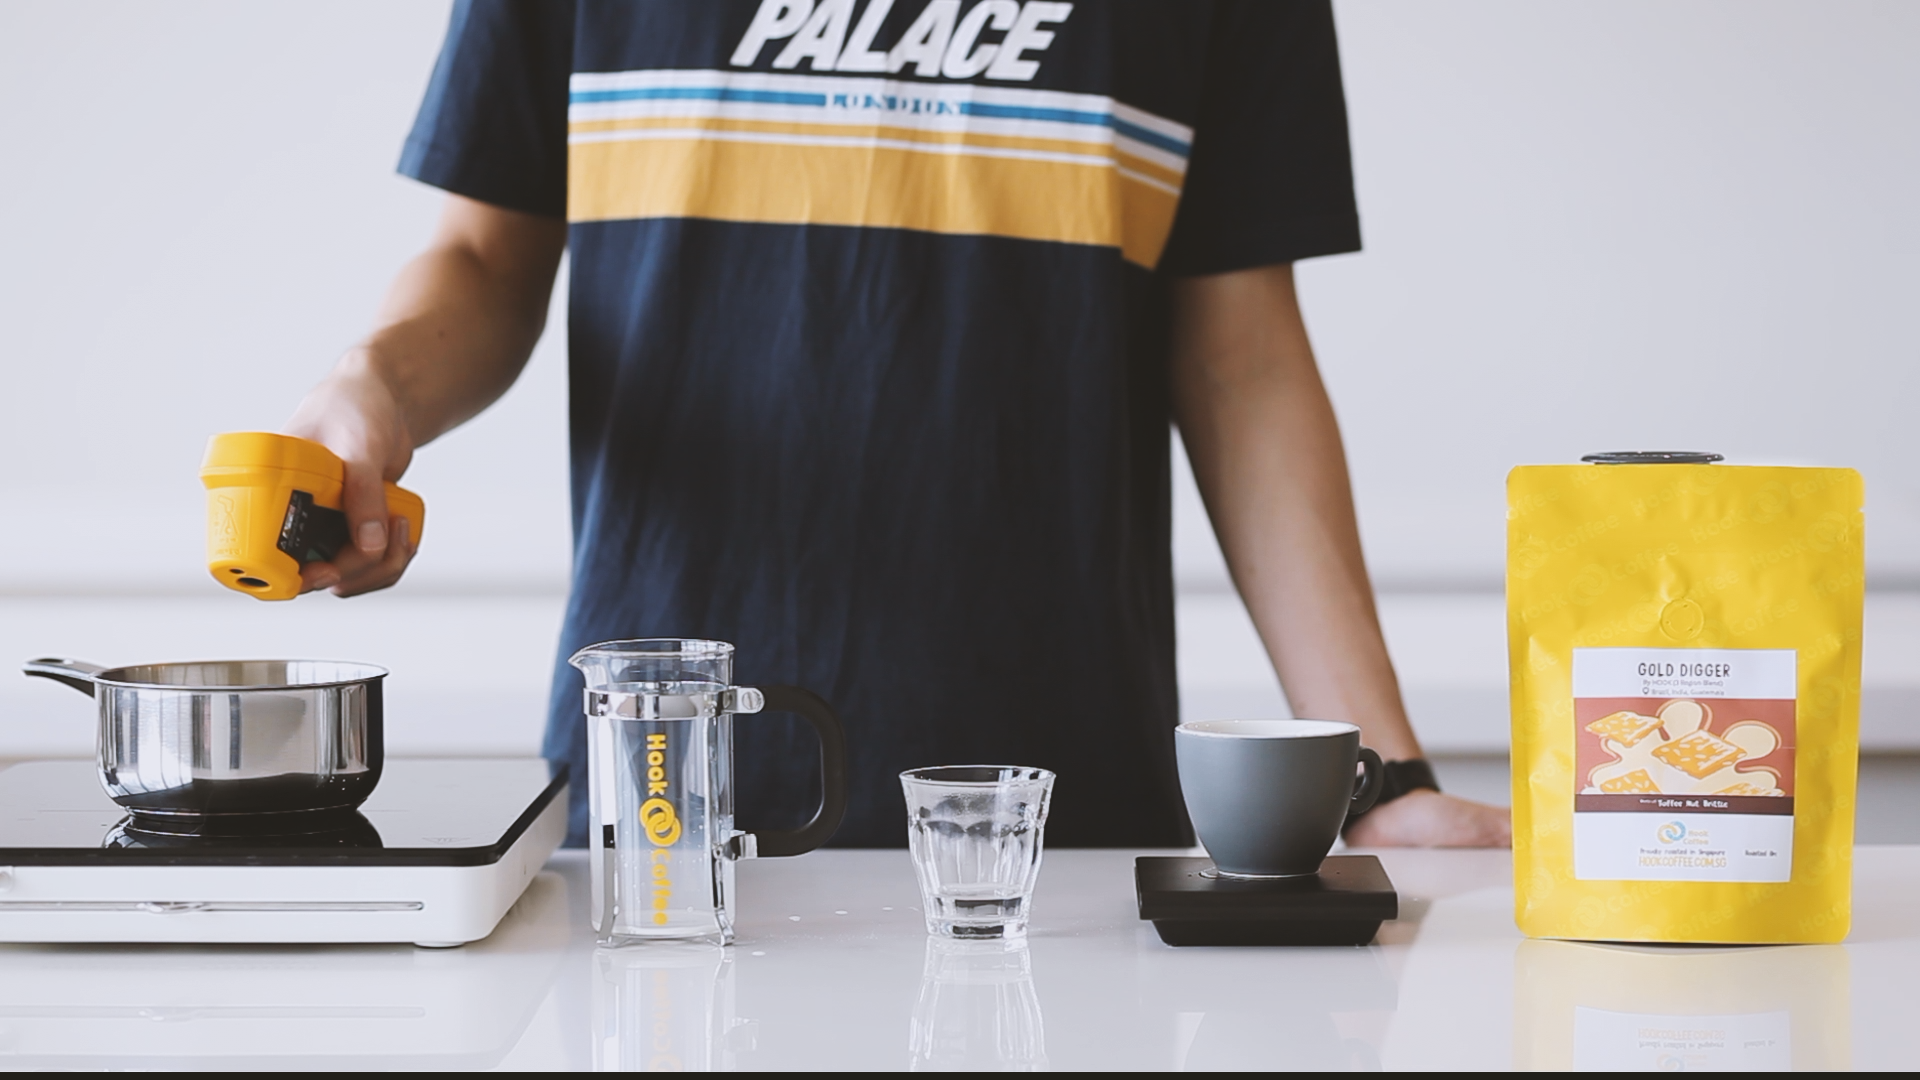
1. Grab some milk from your fridge, and heat it up till it reaches 60 degrees Celsius. This is crucial, as milk is at is best tasting between 60 to 62 degrees Celsius! We used our French Press as a measuring cup, filling it up with milk to its midpoint.

2. Once the milk is up to temperature, pour it back into the French Press. Grab the plunger and get ready to froth some milk.
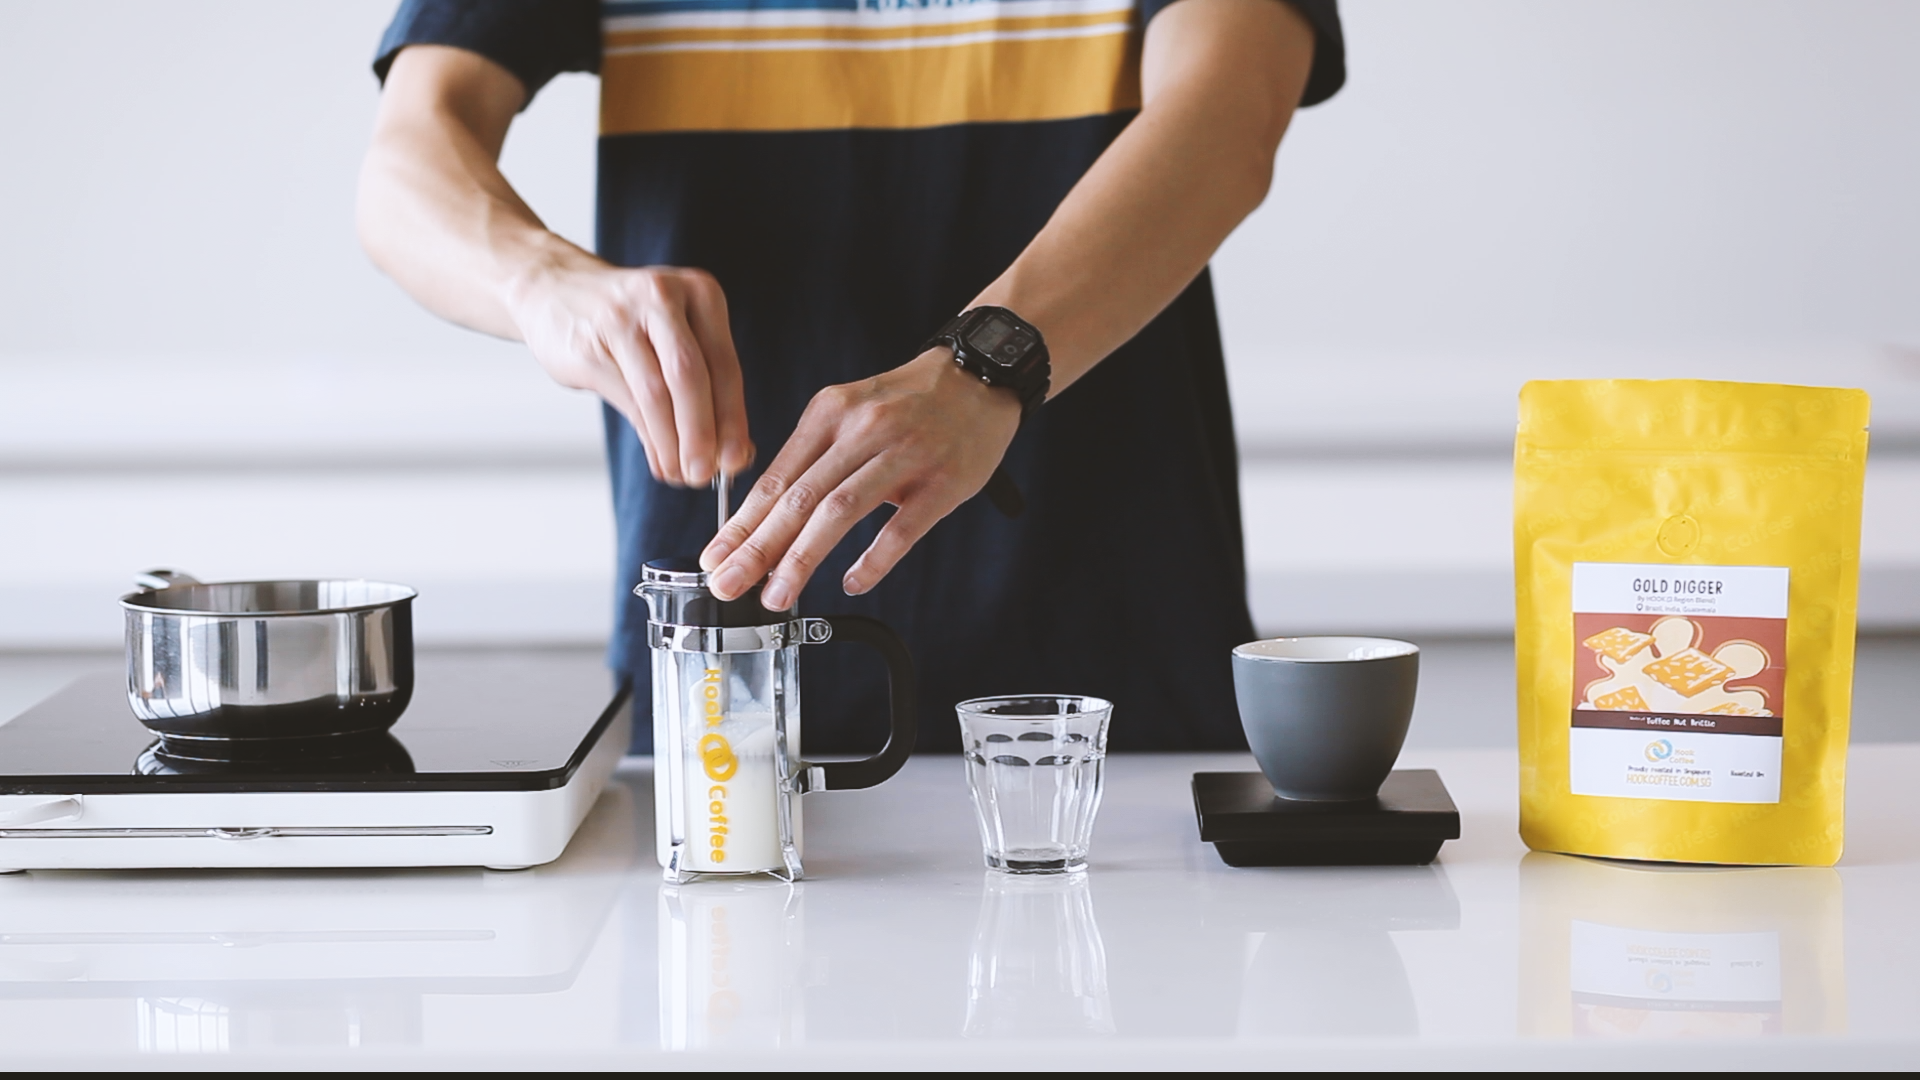
3. Keep this in mind: less is more! Pump the plunger at a regular pace in small motions, with the starting point just below the surface of the milk. There’s no need to be too vigorous, and there’s no need to pump all the way to the bottom of the French Press. Stop when the milk has doubled in volume. P.S. – this may be the most challenging step. A bit of trial and error may be needed, so take your time and have fun with this!
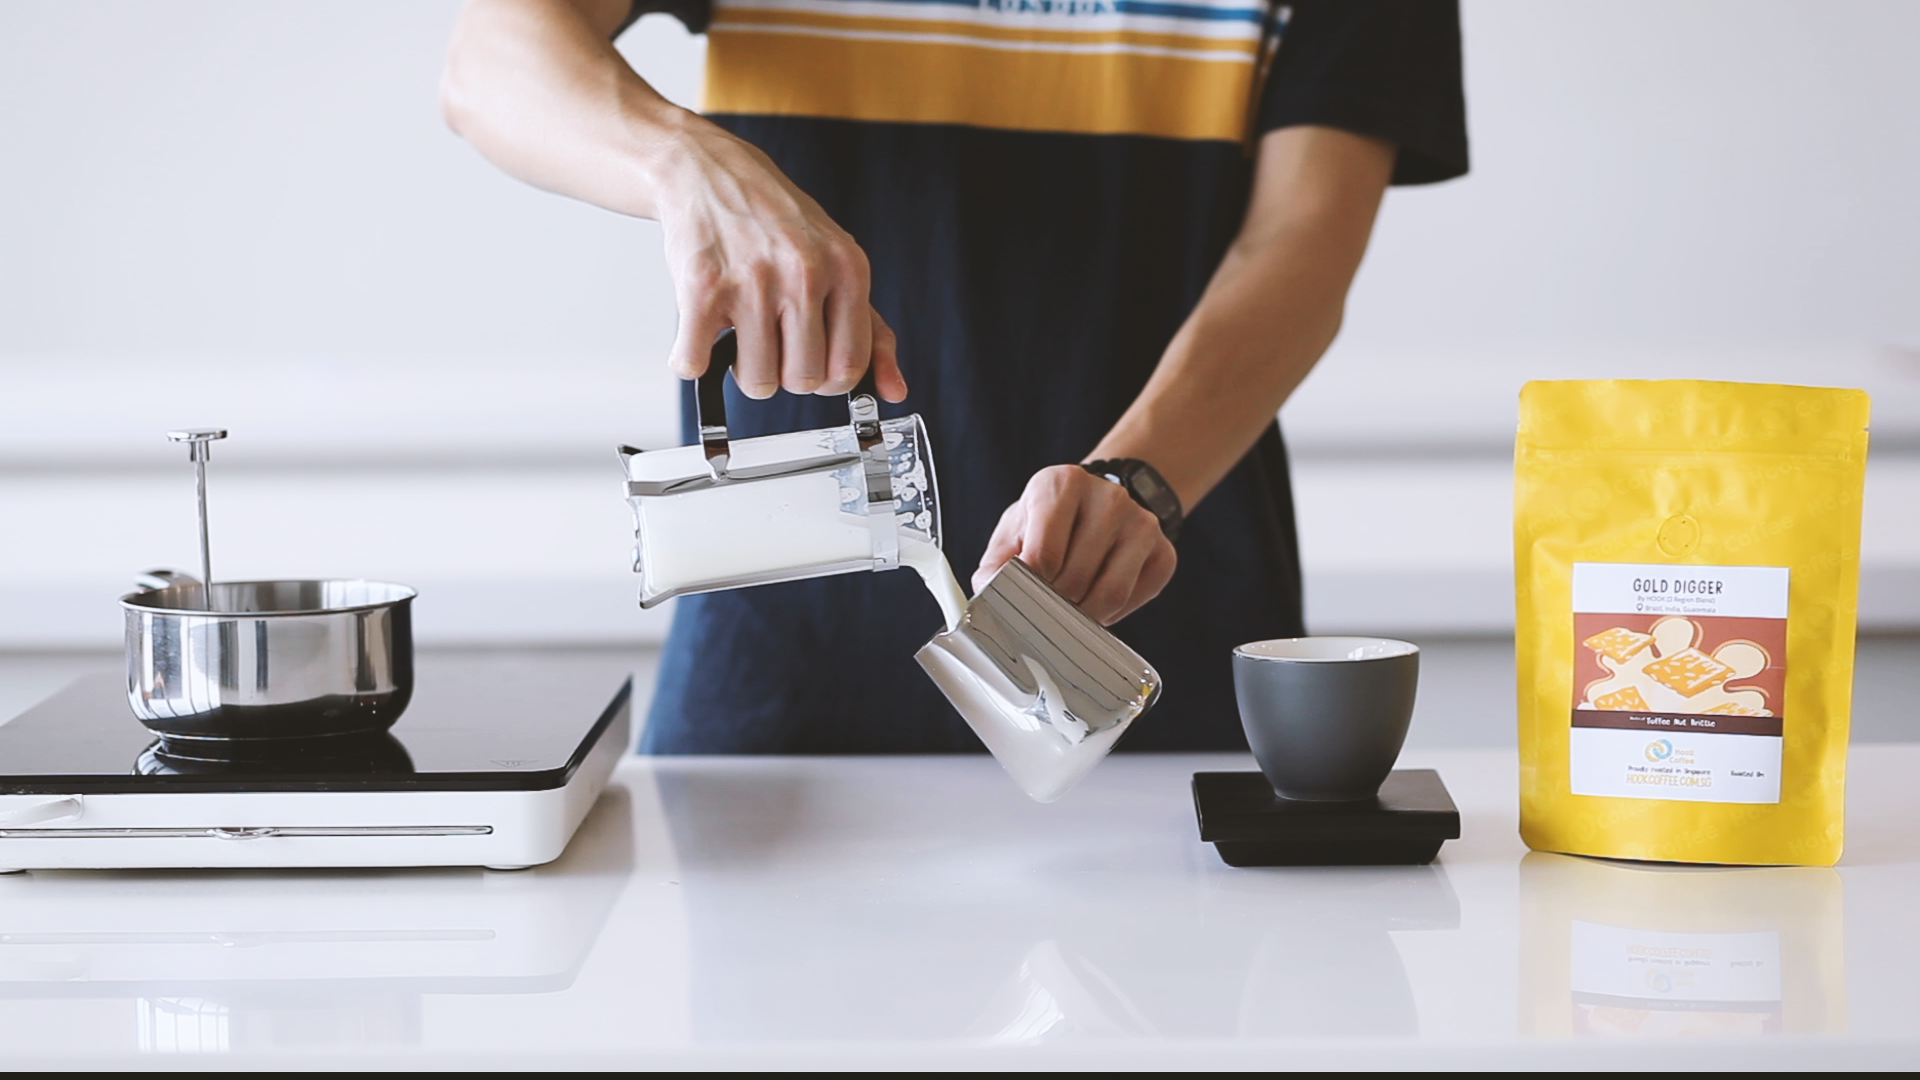
4. Grab a pre-heated milk pitcher. After transferring the frothed milk to the pitcher for some latte art, be sure to polish the milk! This involves tapping the base of the pitcher on a hard surface, popping any visible and big foam bubbles, and gently swirling the milk to incorporate it into homogenous, creamy milk ready for pouring. For a more in-depth tutorial, check out this video we made!
Hint: the frothed milk should look a bit like wet paint!
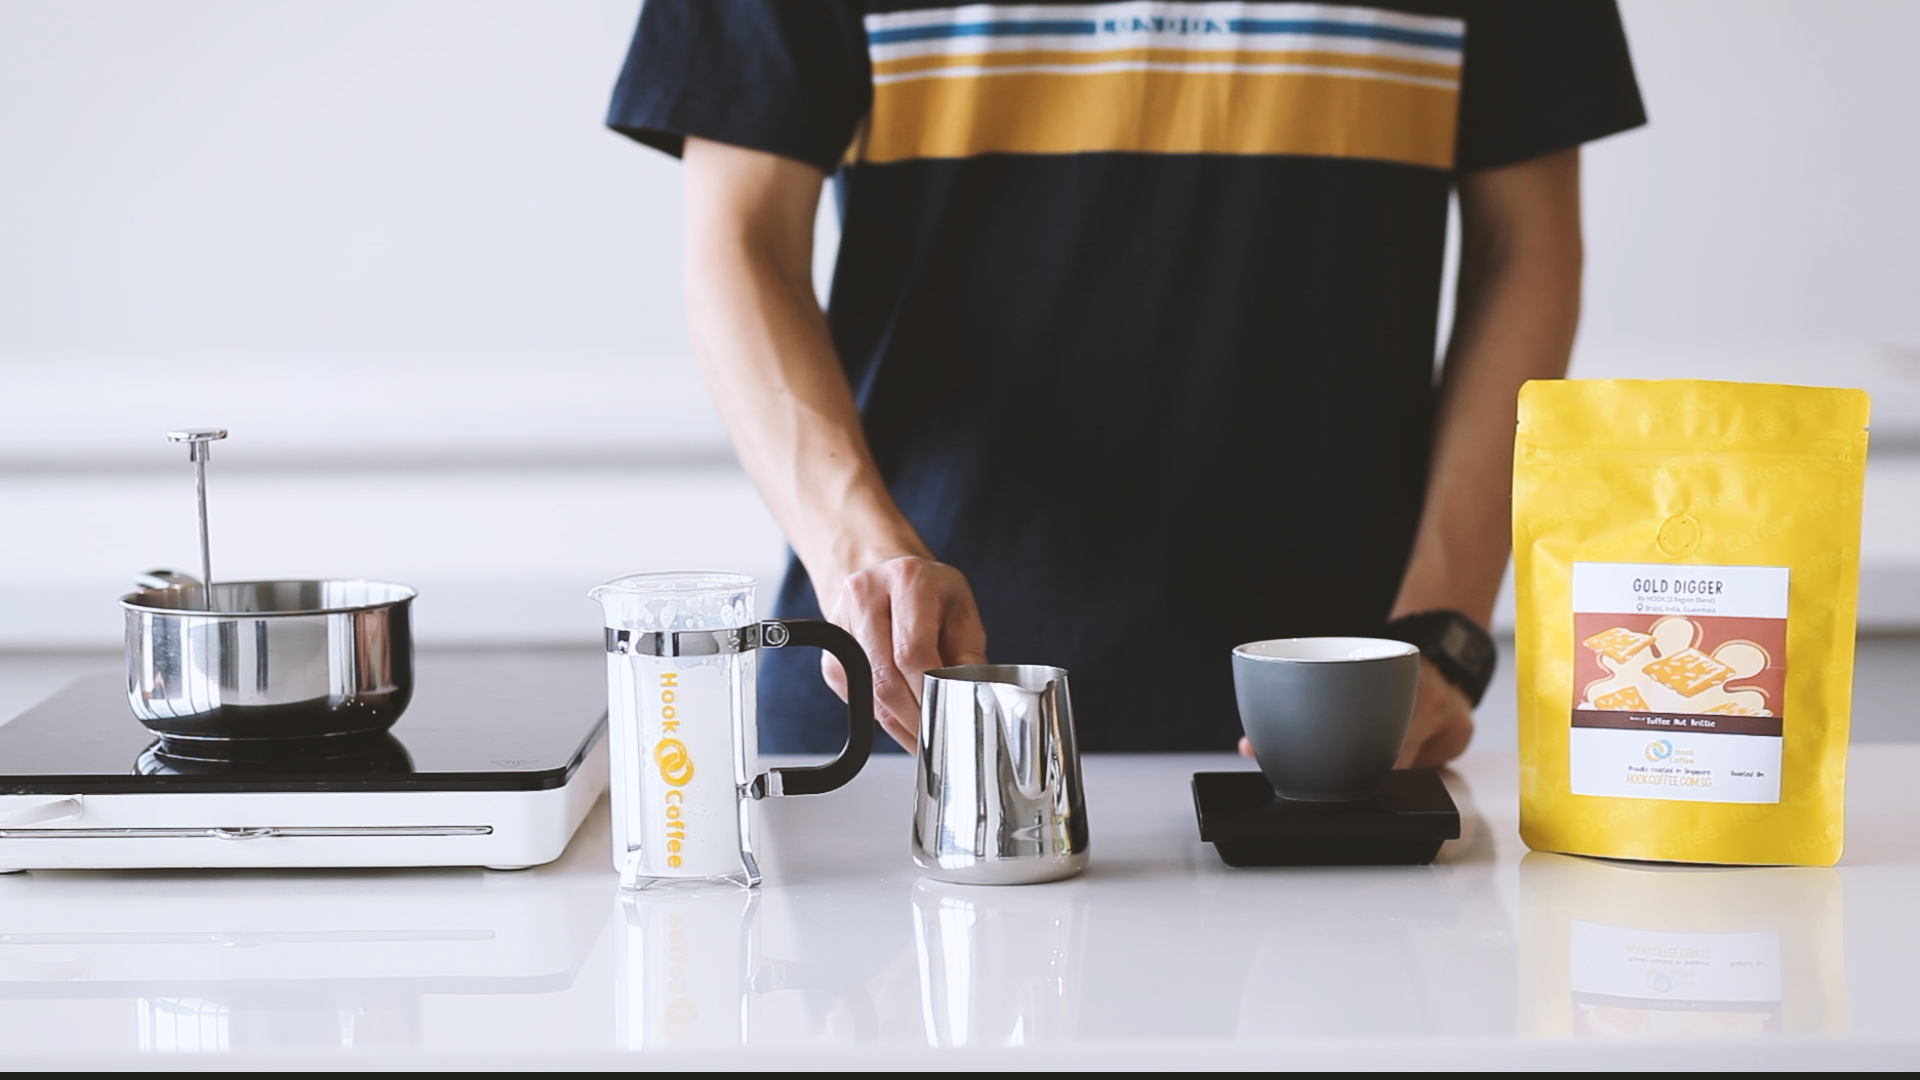
Part 3: Making a Cappuccino
1. With your coffee ready, pour a dollop of milk into the cup and swirl to integrate the mixture.
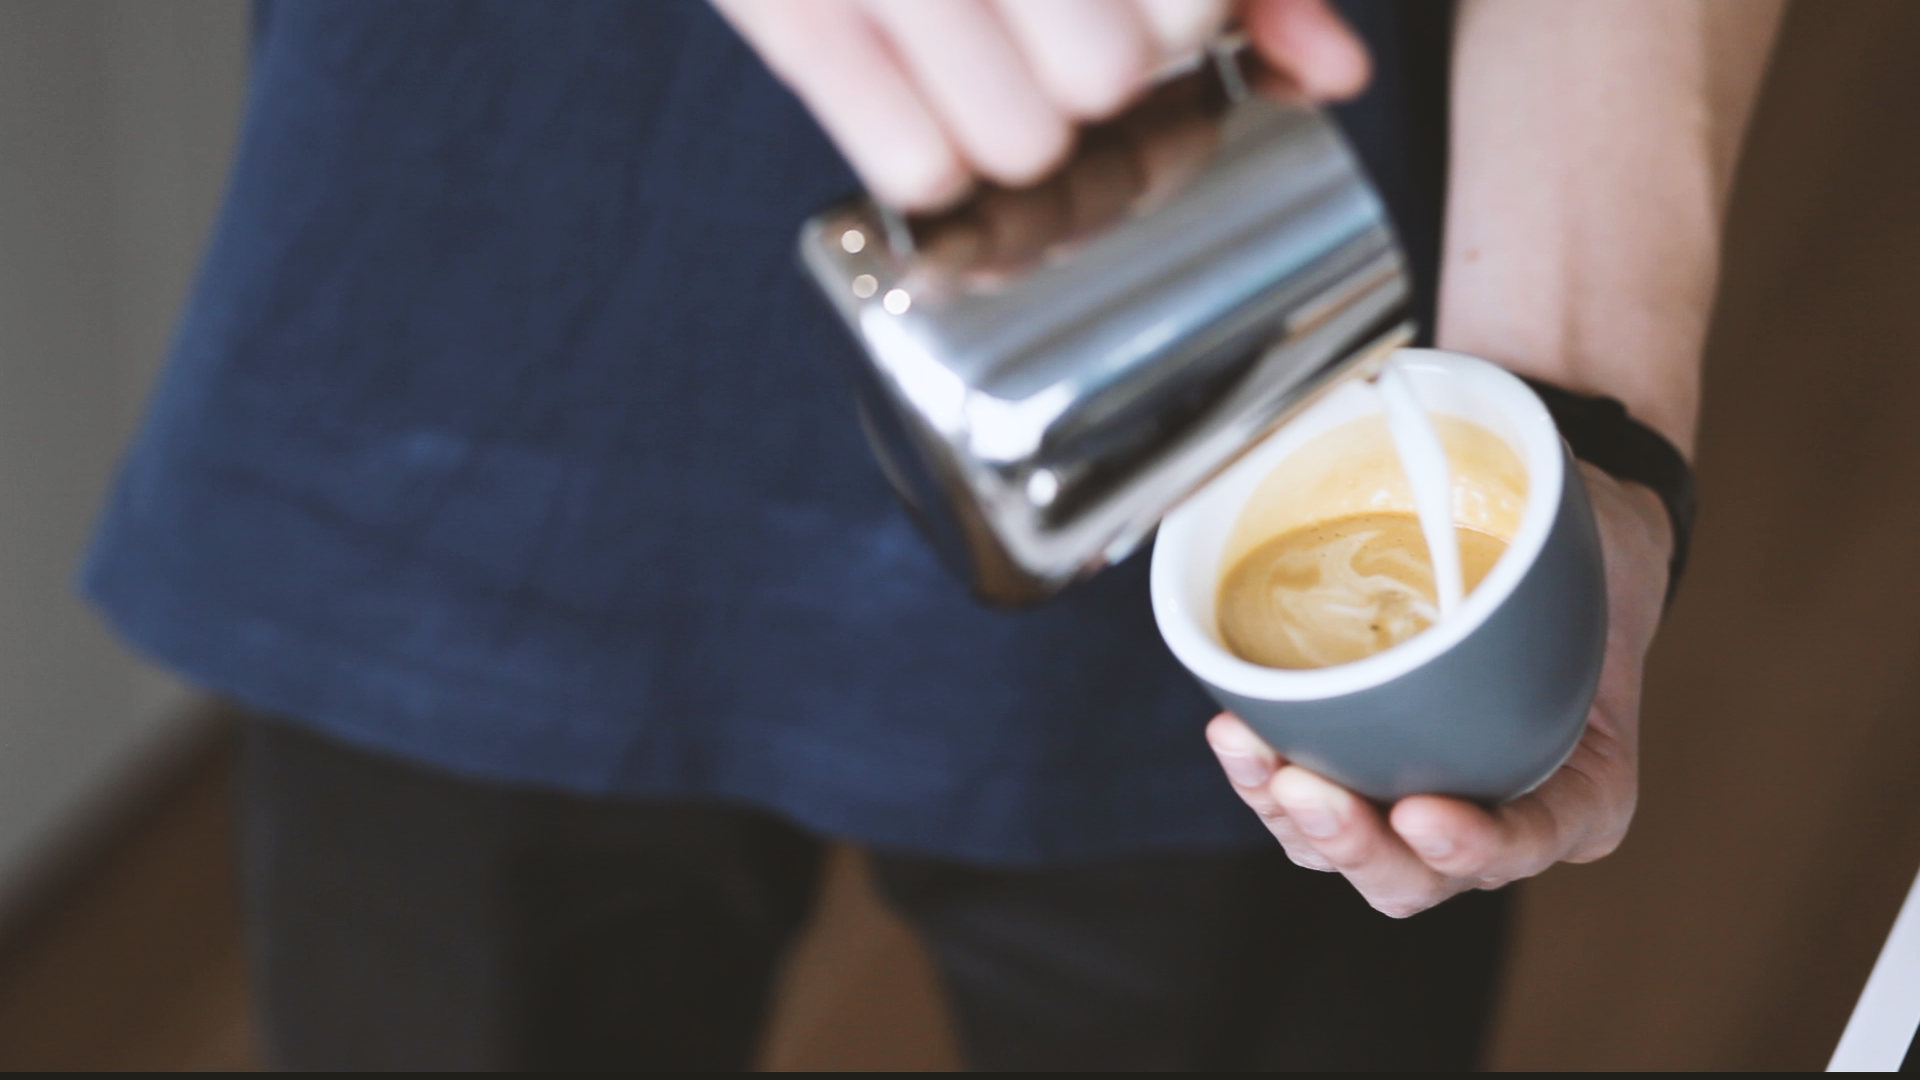
2. Tilt your cup to a 30 degree angle, and gently pour your milk into the cup, mixing the coffee and milk as you go. Be sure to start pouring your milk into the coffee where the depth is deepest. Do this till your coffee just touches the inner lip of your cup.
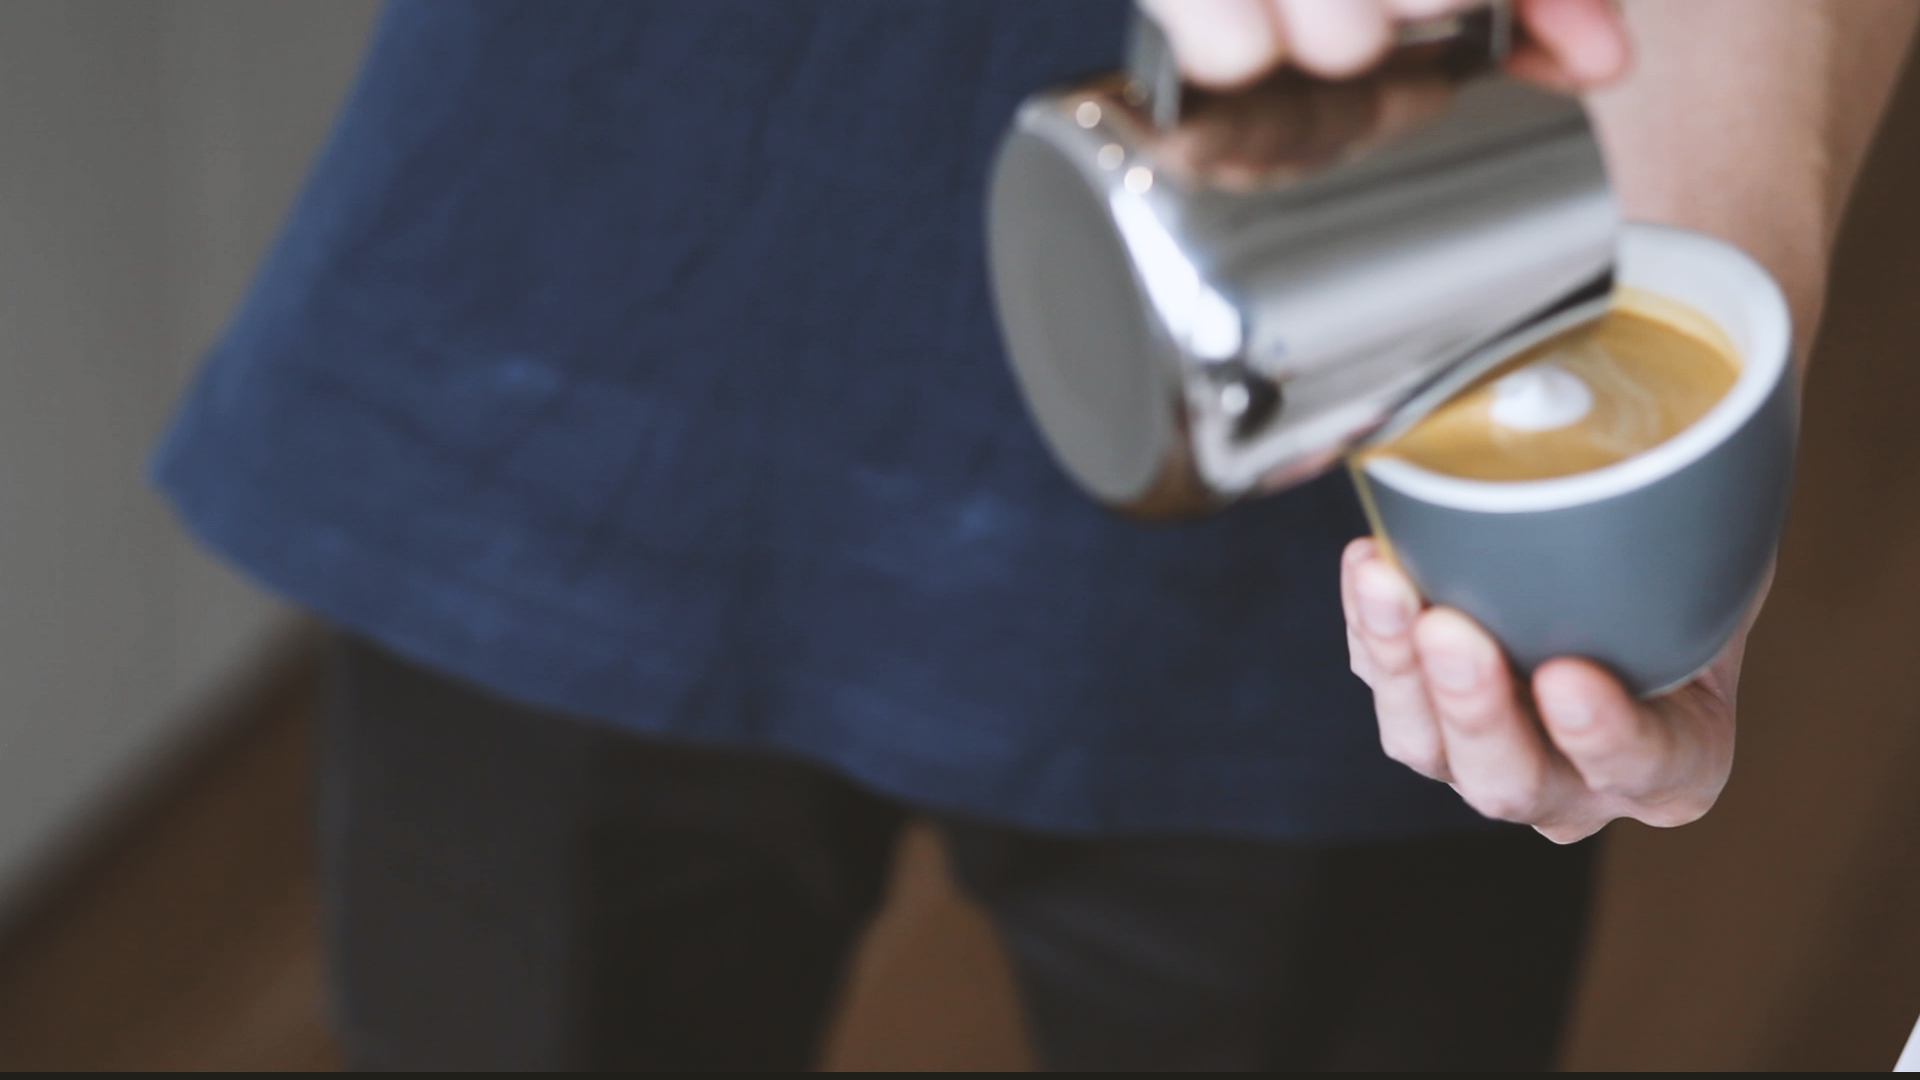
3. To pour your pattern, position the spout of your pitcher close to the surface of the milk and let it glide out. Straighten your cup slowly as the pattern forms. To pour a heart, form a circle, raise your pitcher up and gently cut through. Depending on how much air you’ve previously incorporated into your milk, this step may have varying results!

Oops, this one could be better. Practice makes perfect!
So if you're up for some good fun and coffee, head on over to our site and grab an Es-PRESS-O Kit today! P.S. – we're throwing in a 200g of coffee to get you started!
Full Equipment List:
• Aeropress Go Set (incl.: Aeropress Go, filter papers + holder, stirrer, cup)
• Electric kettle
• Milk pitcher (400ml)
• Thermometer/probe
Other articles


")
